Explore Octory Pro
This tutorial requires a valid Octory PRO license file (License.json) in the /Library/Application Support/Octory/ folder.
We offer 30-day trial license if you want to test it out. You can request it directly from our website.
We strongly suggest that you start by reading the Getting Started and Explore Octory before starting this tutorial as we will focus on the PRO features.
Octory can be used in several ways in your environment:
- As a display screen to guide your user into doing some configurations.
- As a menu bar item to always have relevant info at hand.
- As an onboarding workflow to create a great first experience.
In this tutorial you will create a configuration with multiple actions and conditions to explore Octory PRO features. This tutorial is intended to give you a general understanding of actions and conditions.
You will learn to:
- Create basic actions
- Display information or launch actions based on conditions
Both Actions and Conditions can be used in Window mode or Menu Bar mode.
Initial setup
Our base configuration will be the one created in Explore Octory. Grab your file and resources to begin.
- In
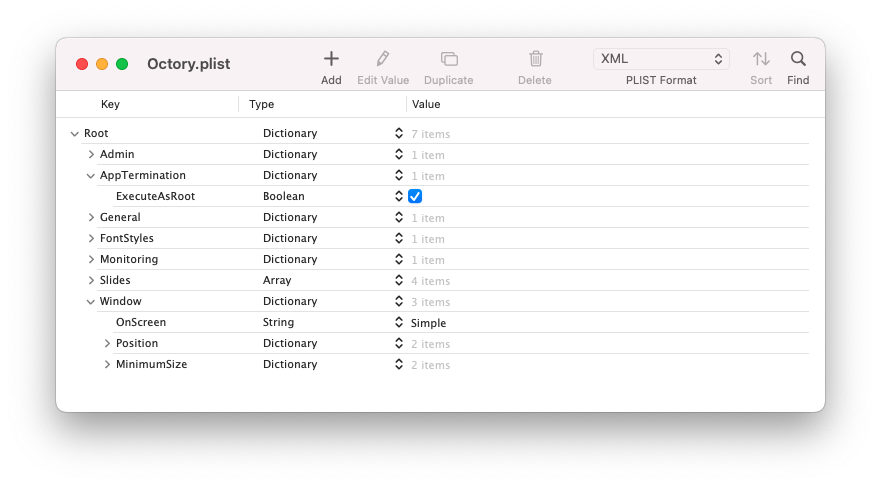
Window, removeIsTitleBarHiddenandIsMovablekeys to give us a bit more freedom. - In
AppTermination, removeCompleteInstallationScriptPathto avoid restarting of your computer at the end of the workflow.
Display a hidden text
Create a new variable
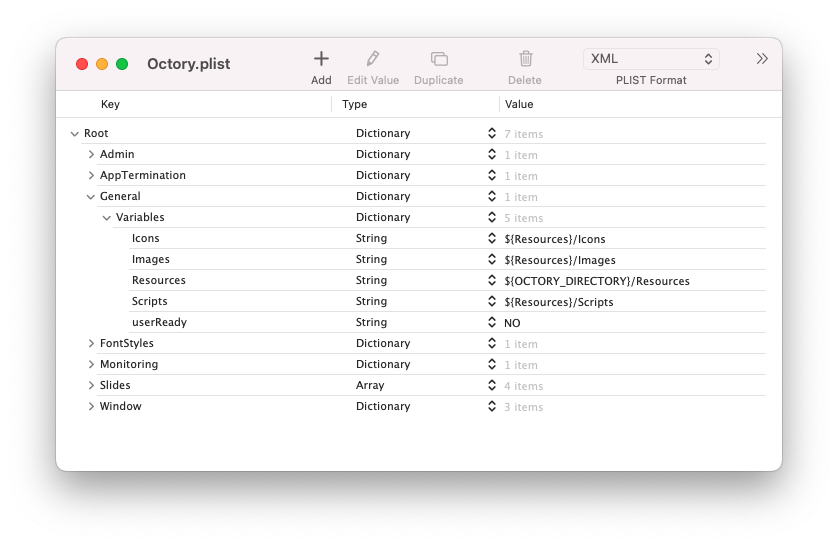
Let's add a new variable to our configuration called userReady. This variable will be used later in our tutorial to display text based on the value of this variable.
- Create a userRady variable with value NO
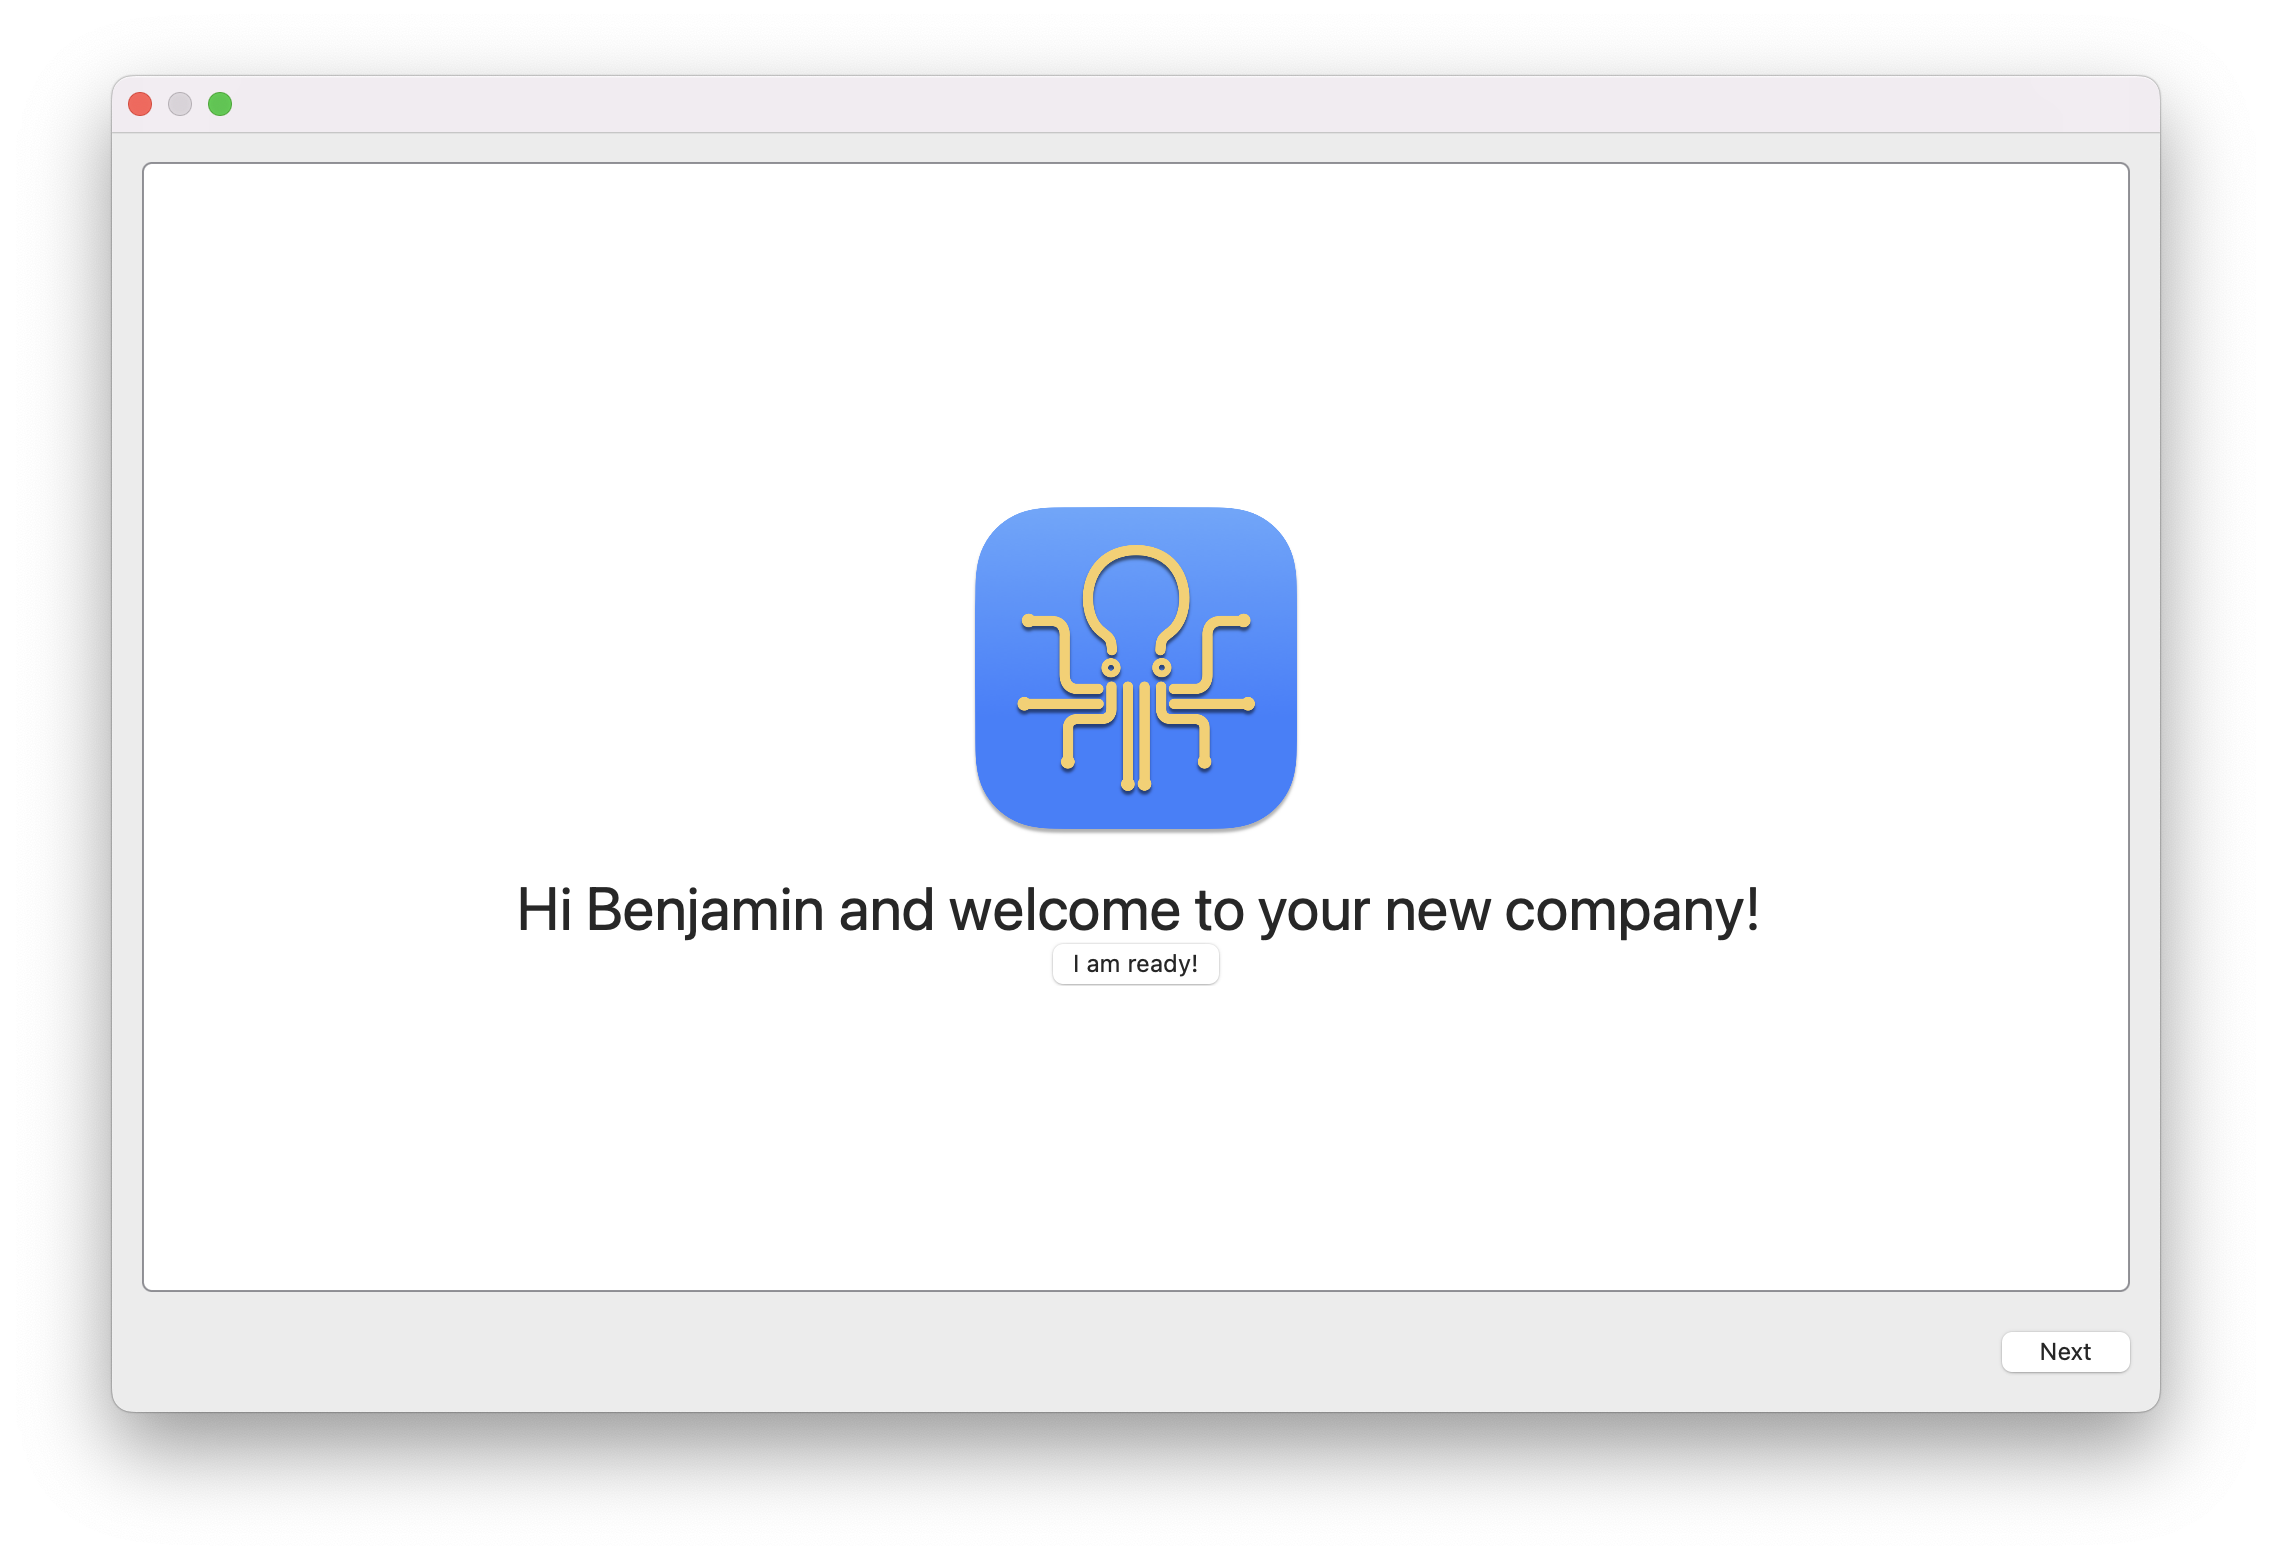
Adding a Button tied to a trigger
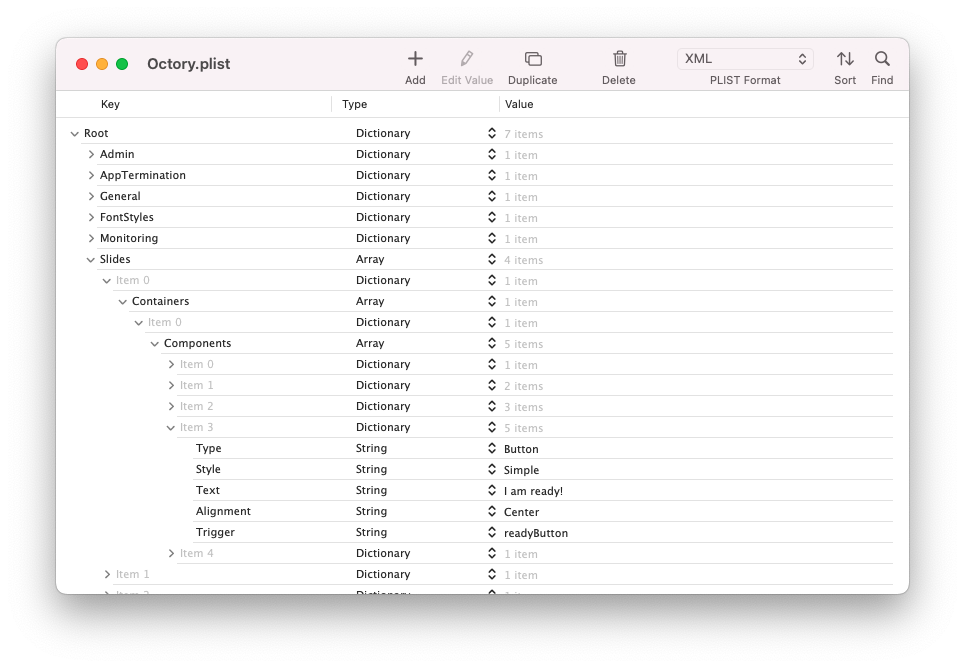
Modify our first slide to add an "I am ready" button which will display a new text before our Spacer component.
- Add a new Button component.
- Add the
Triggerkey with the value of your choice so that we can tie it to an action later. In our case, the trigger value is readyButton.
Add your hidden text
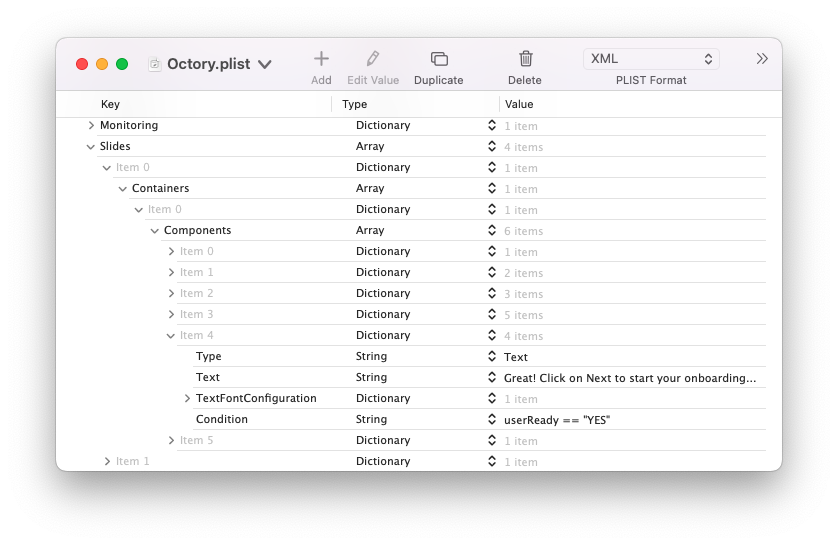
Now we will add the text which will be displayed when we click on the "I am ready" button.
This is an example of Condition.
- Add a new Text component below our button.
- Add a
Conditionto this text to check that the user is ready.
Link an Action to the trigger
If you launch Octory at this point, you will see that your button is displayed, it can be clicked, but nothing happens. Your new text remains hidden.
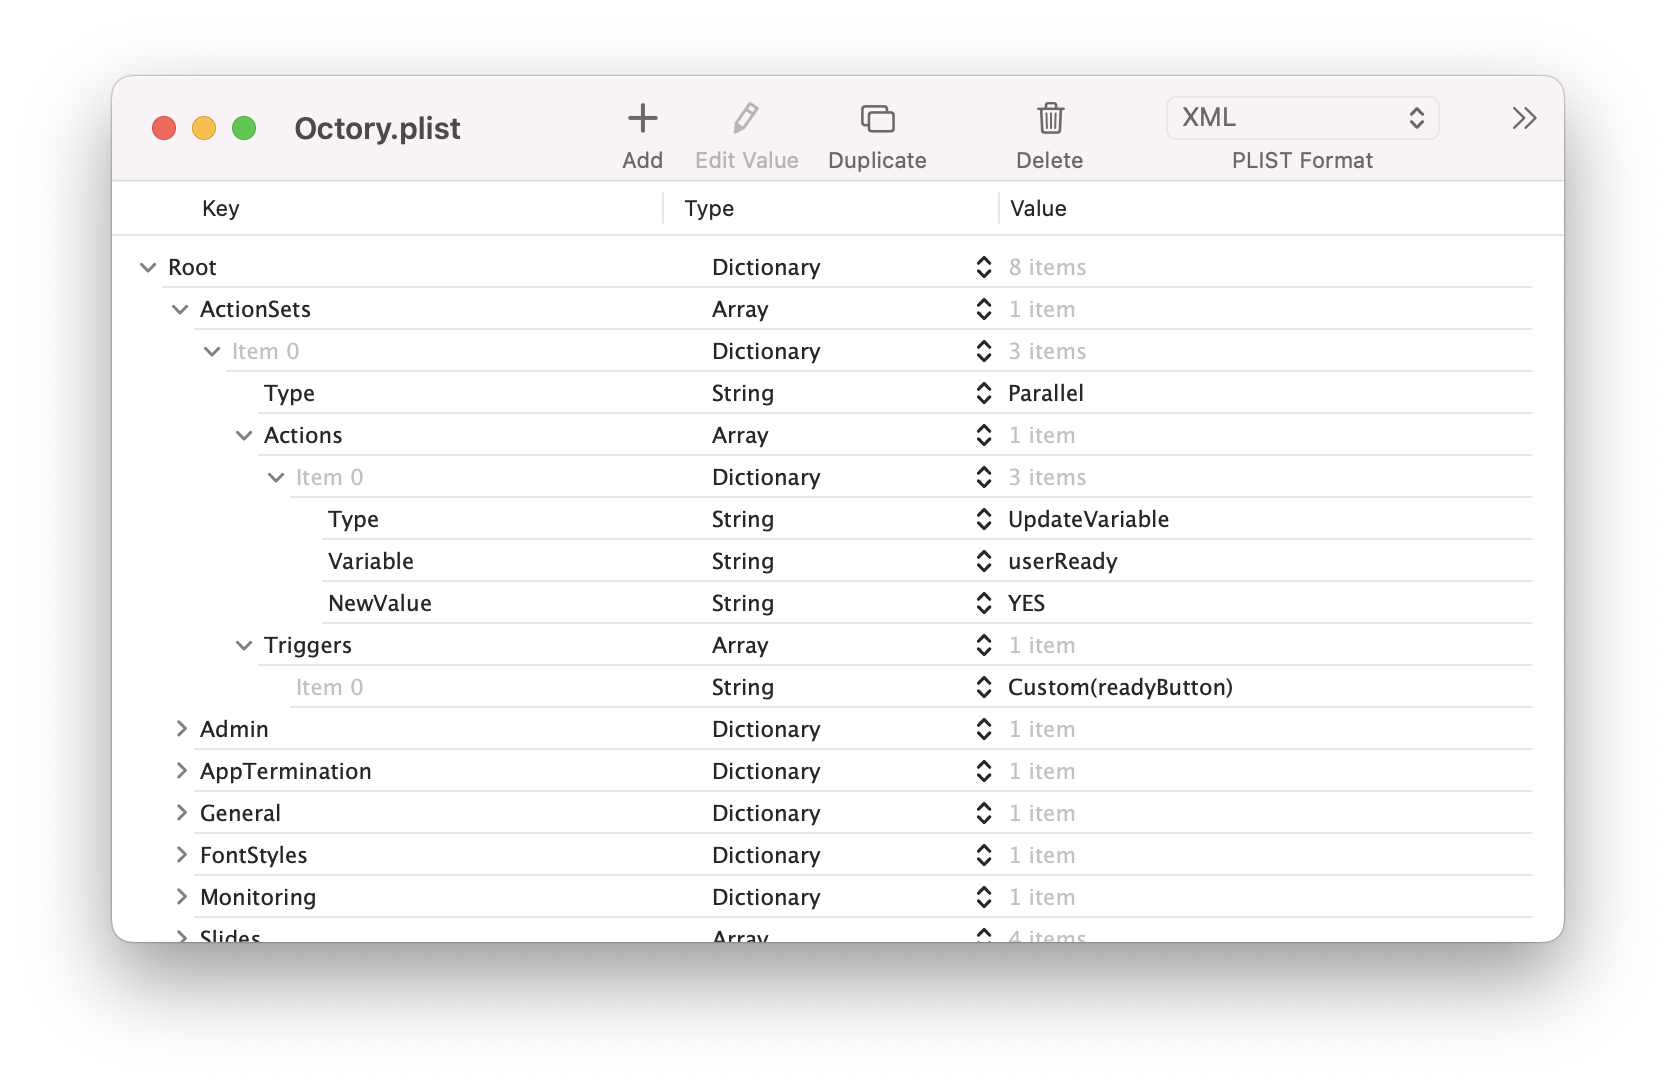
So how do we show this text. Create an ActionSets group at the top level of your configuration file with the following parameters.
- Our action set will be of type Parallel.
- Add an UpdateVariable action which will change the current value of the userReady variable to YES.
- Use the custom trigger previously created in our Button component.
Congratulation! You have created your first action and displayed a component using conditions.
Now, when you click on the button, you should see your text appear.
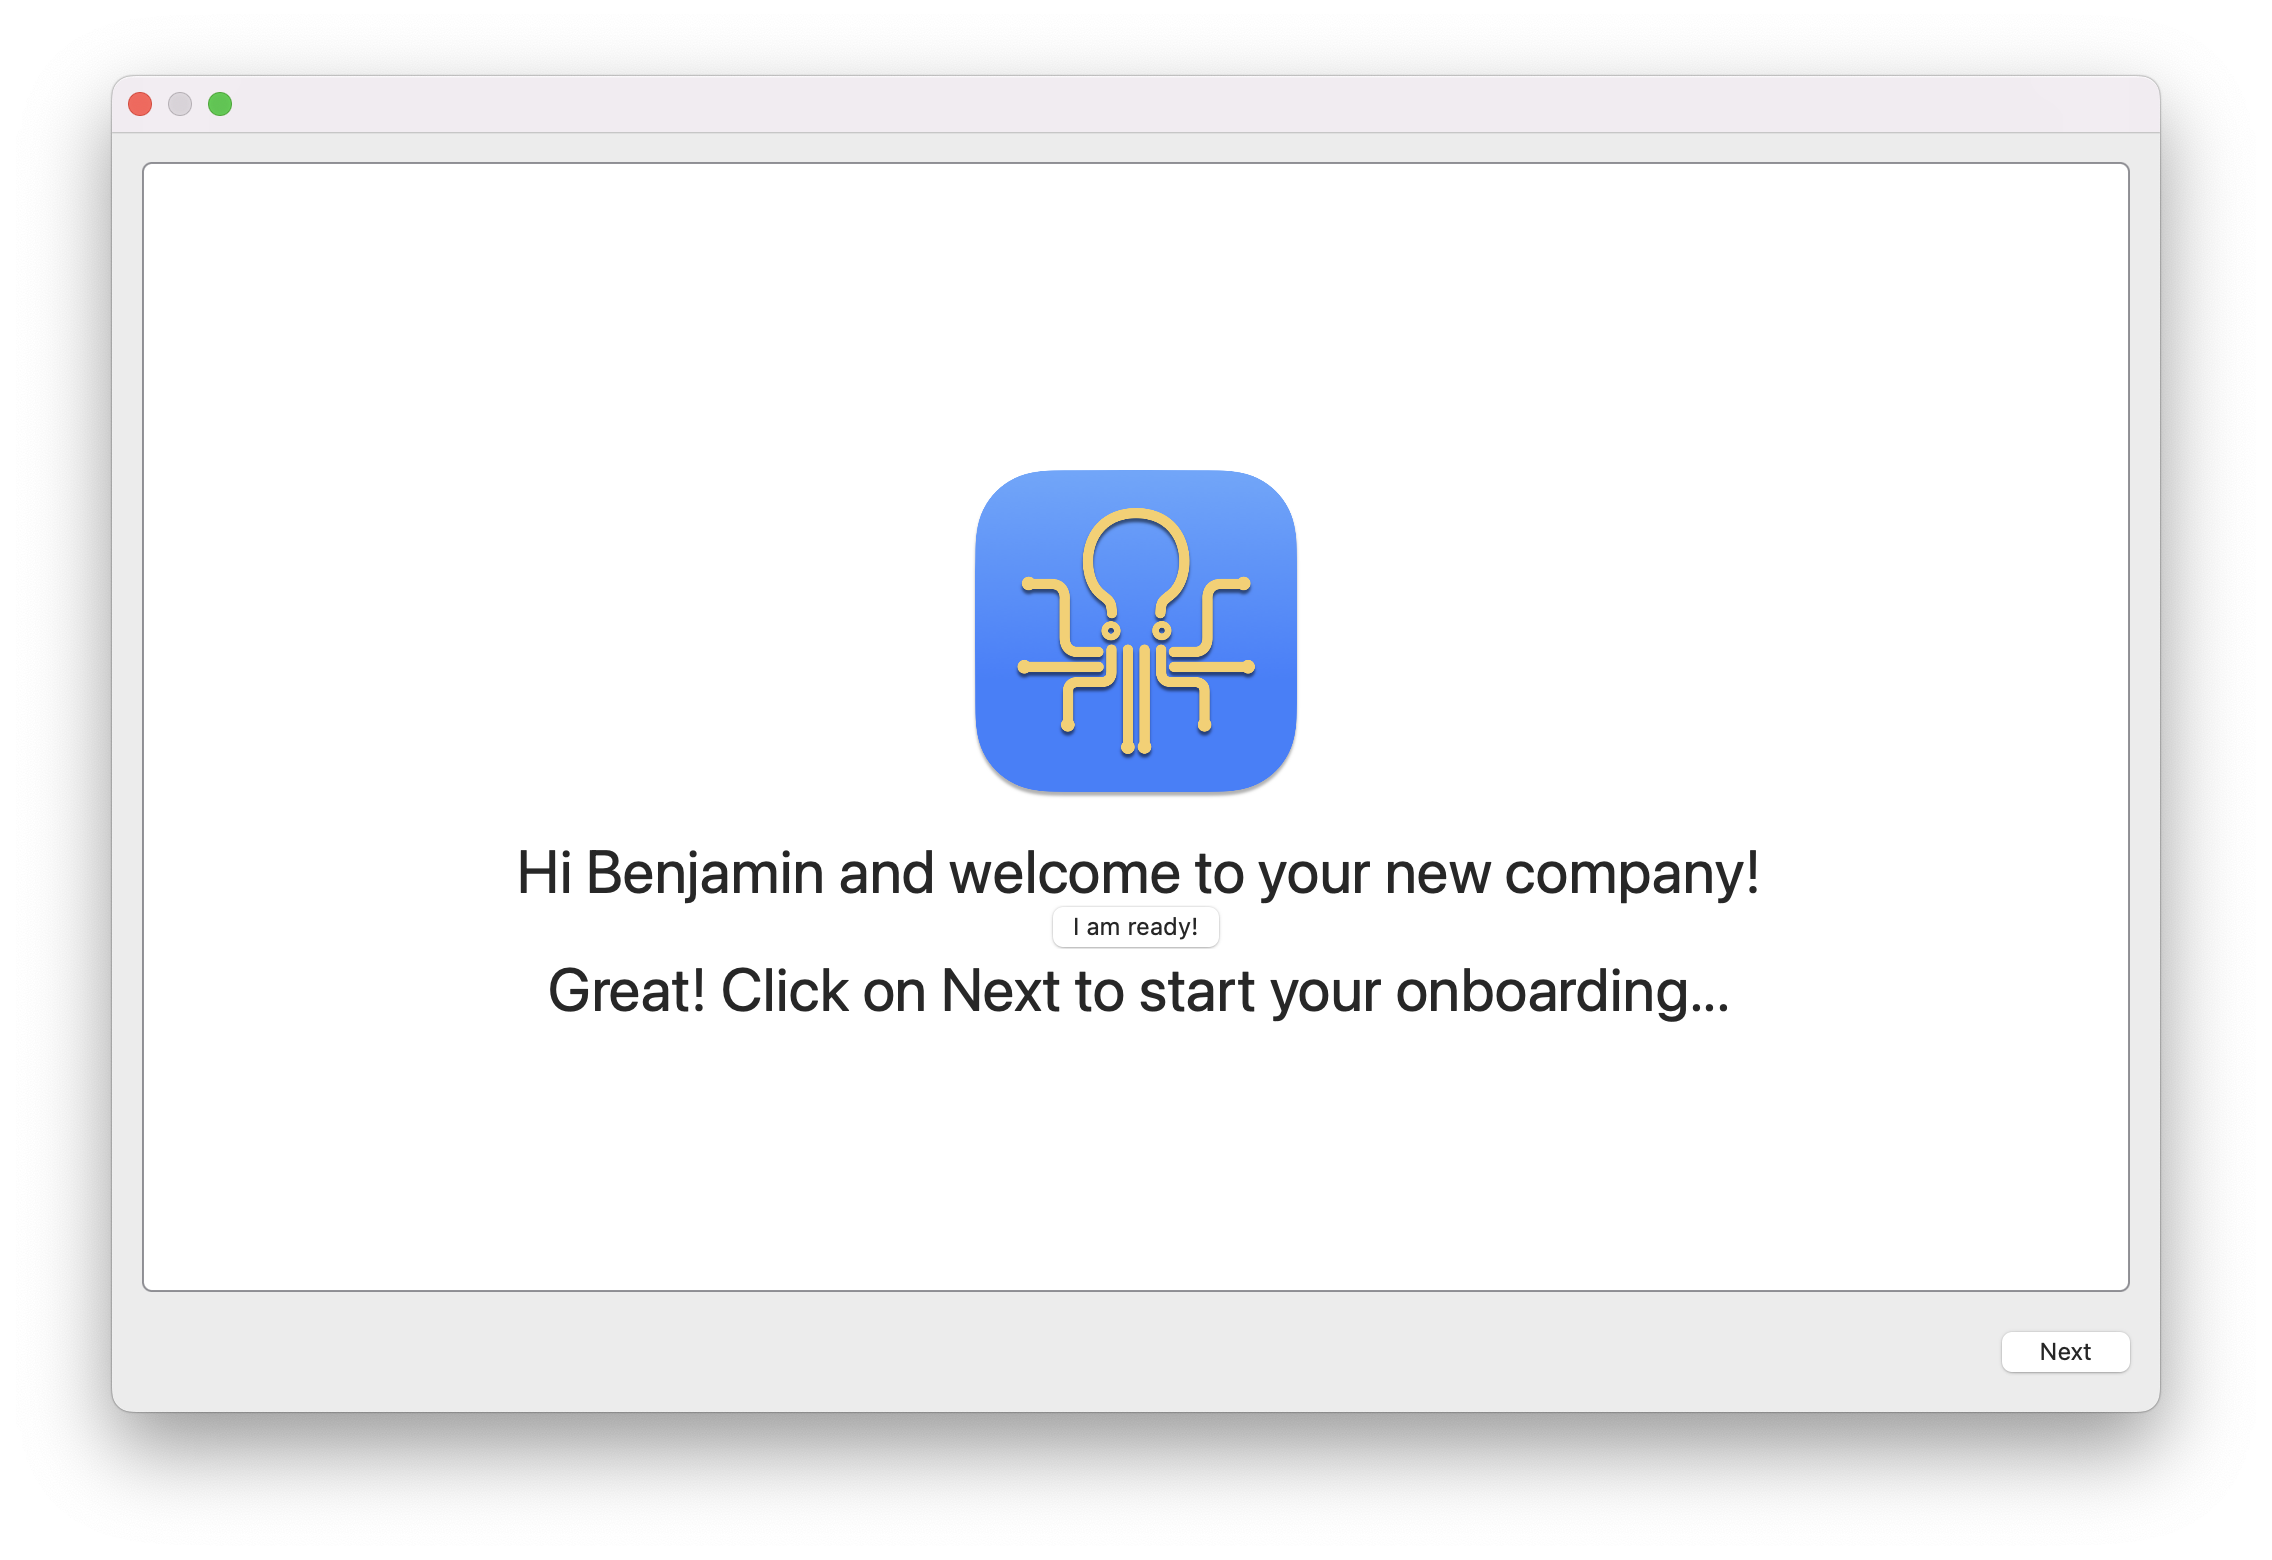
In this first example, we only have one trigger and one action but we could have multiple triggers and multiple actions wihtin the same action set. It all depends on your expectations.
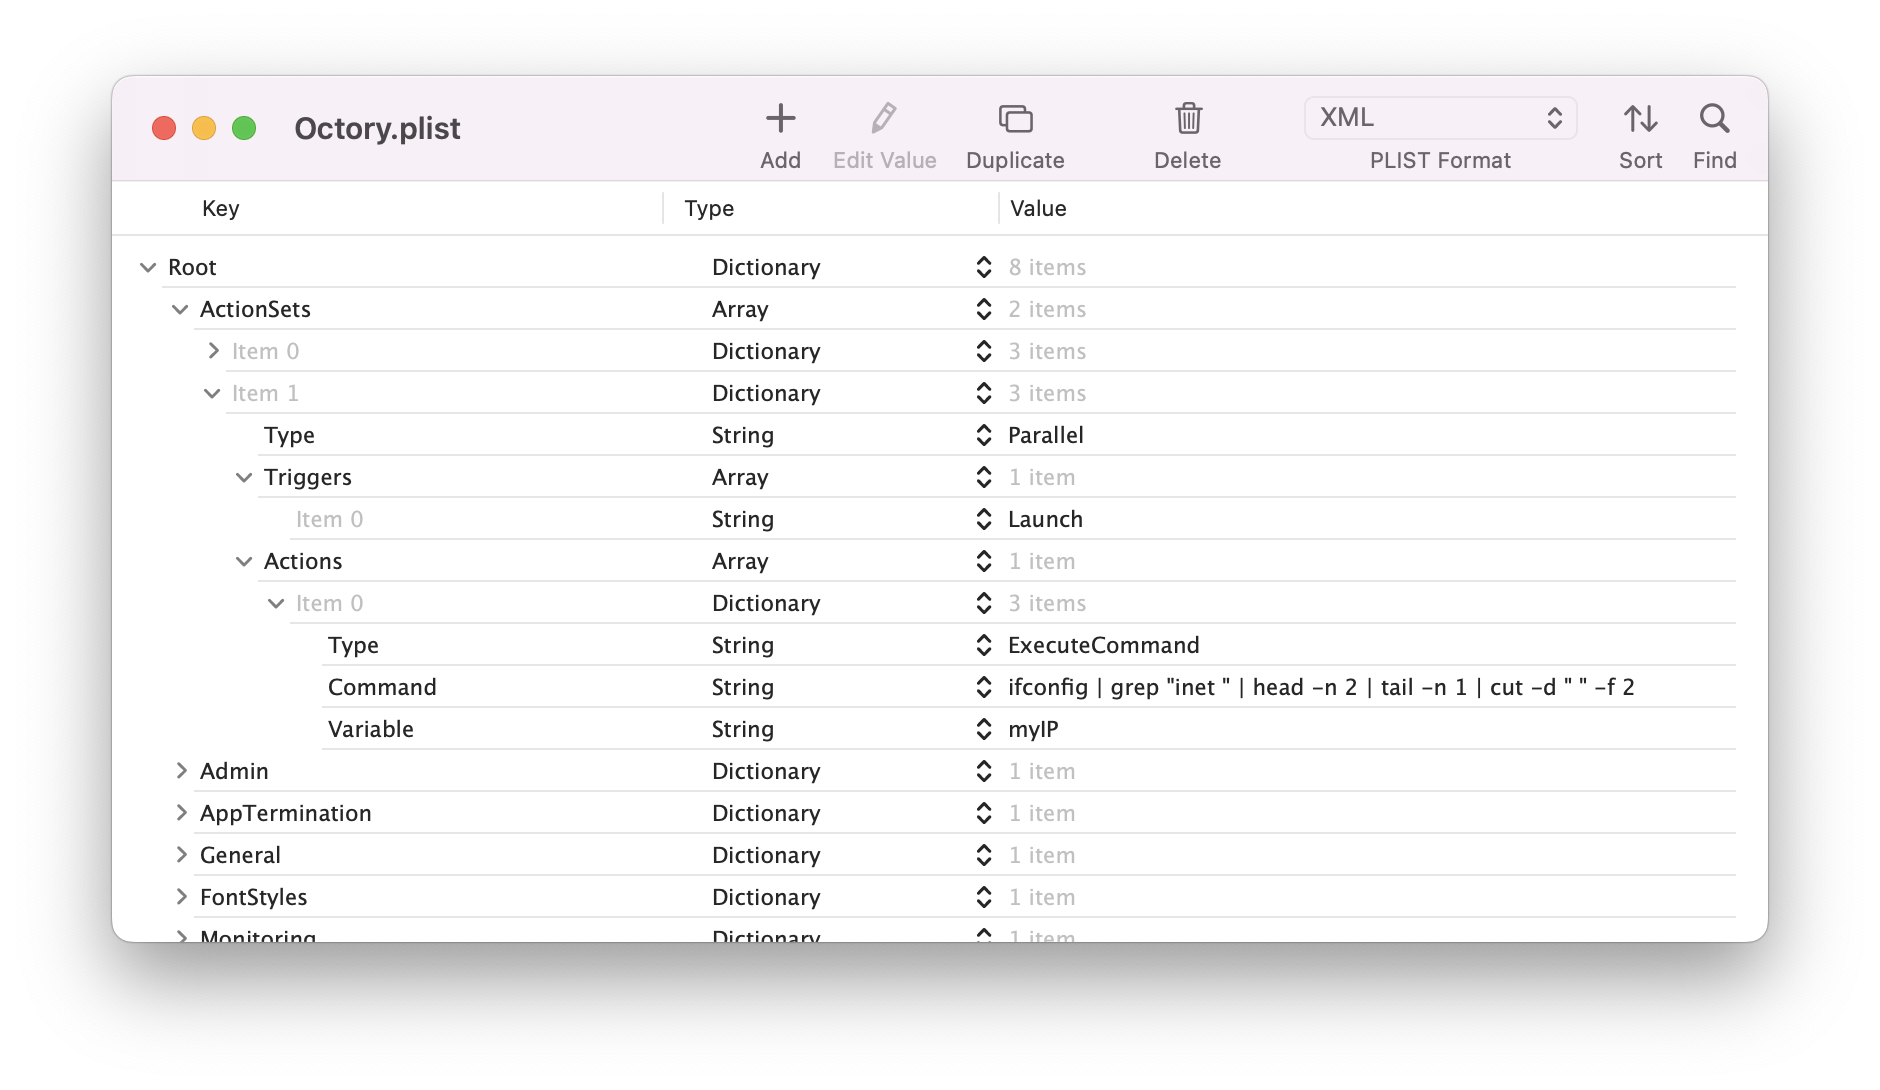
Use the ExecuteCommand
One of the great feature from the PRO version is the abitlity to launch system command (and scripts). Let's see how we can leverage the ExecuteCommand action to grab some information from the system at Ocotry's launch.
- Create a new action set of type Parallel
- Set the Triggers as Launch
- Create a new action ExecuteCommand to get the IP of the device
ifconfig | grep "inet " | head -n 2 | tail -n 1 | cut -d " " -f 2 - Name the variable myIP
To check if it works, let's display our variable on the first slide.
- Create a new Text component with our newly created variable.

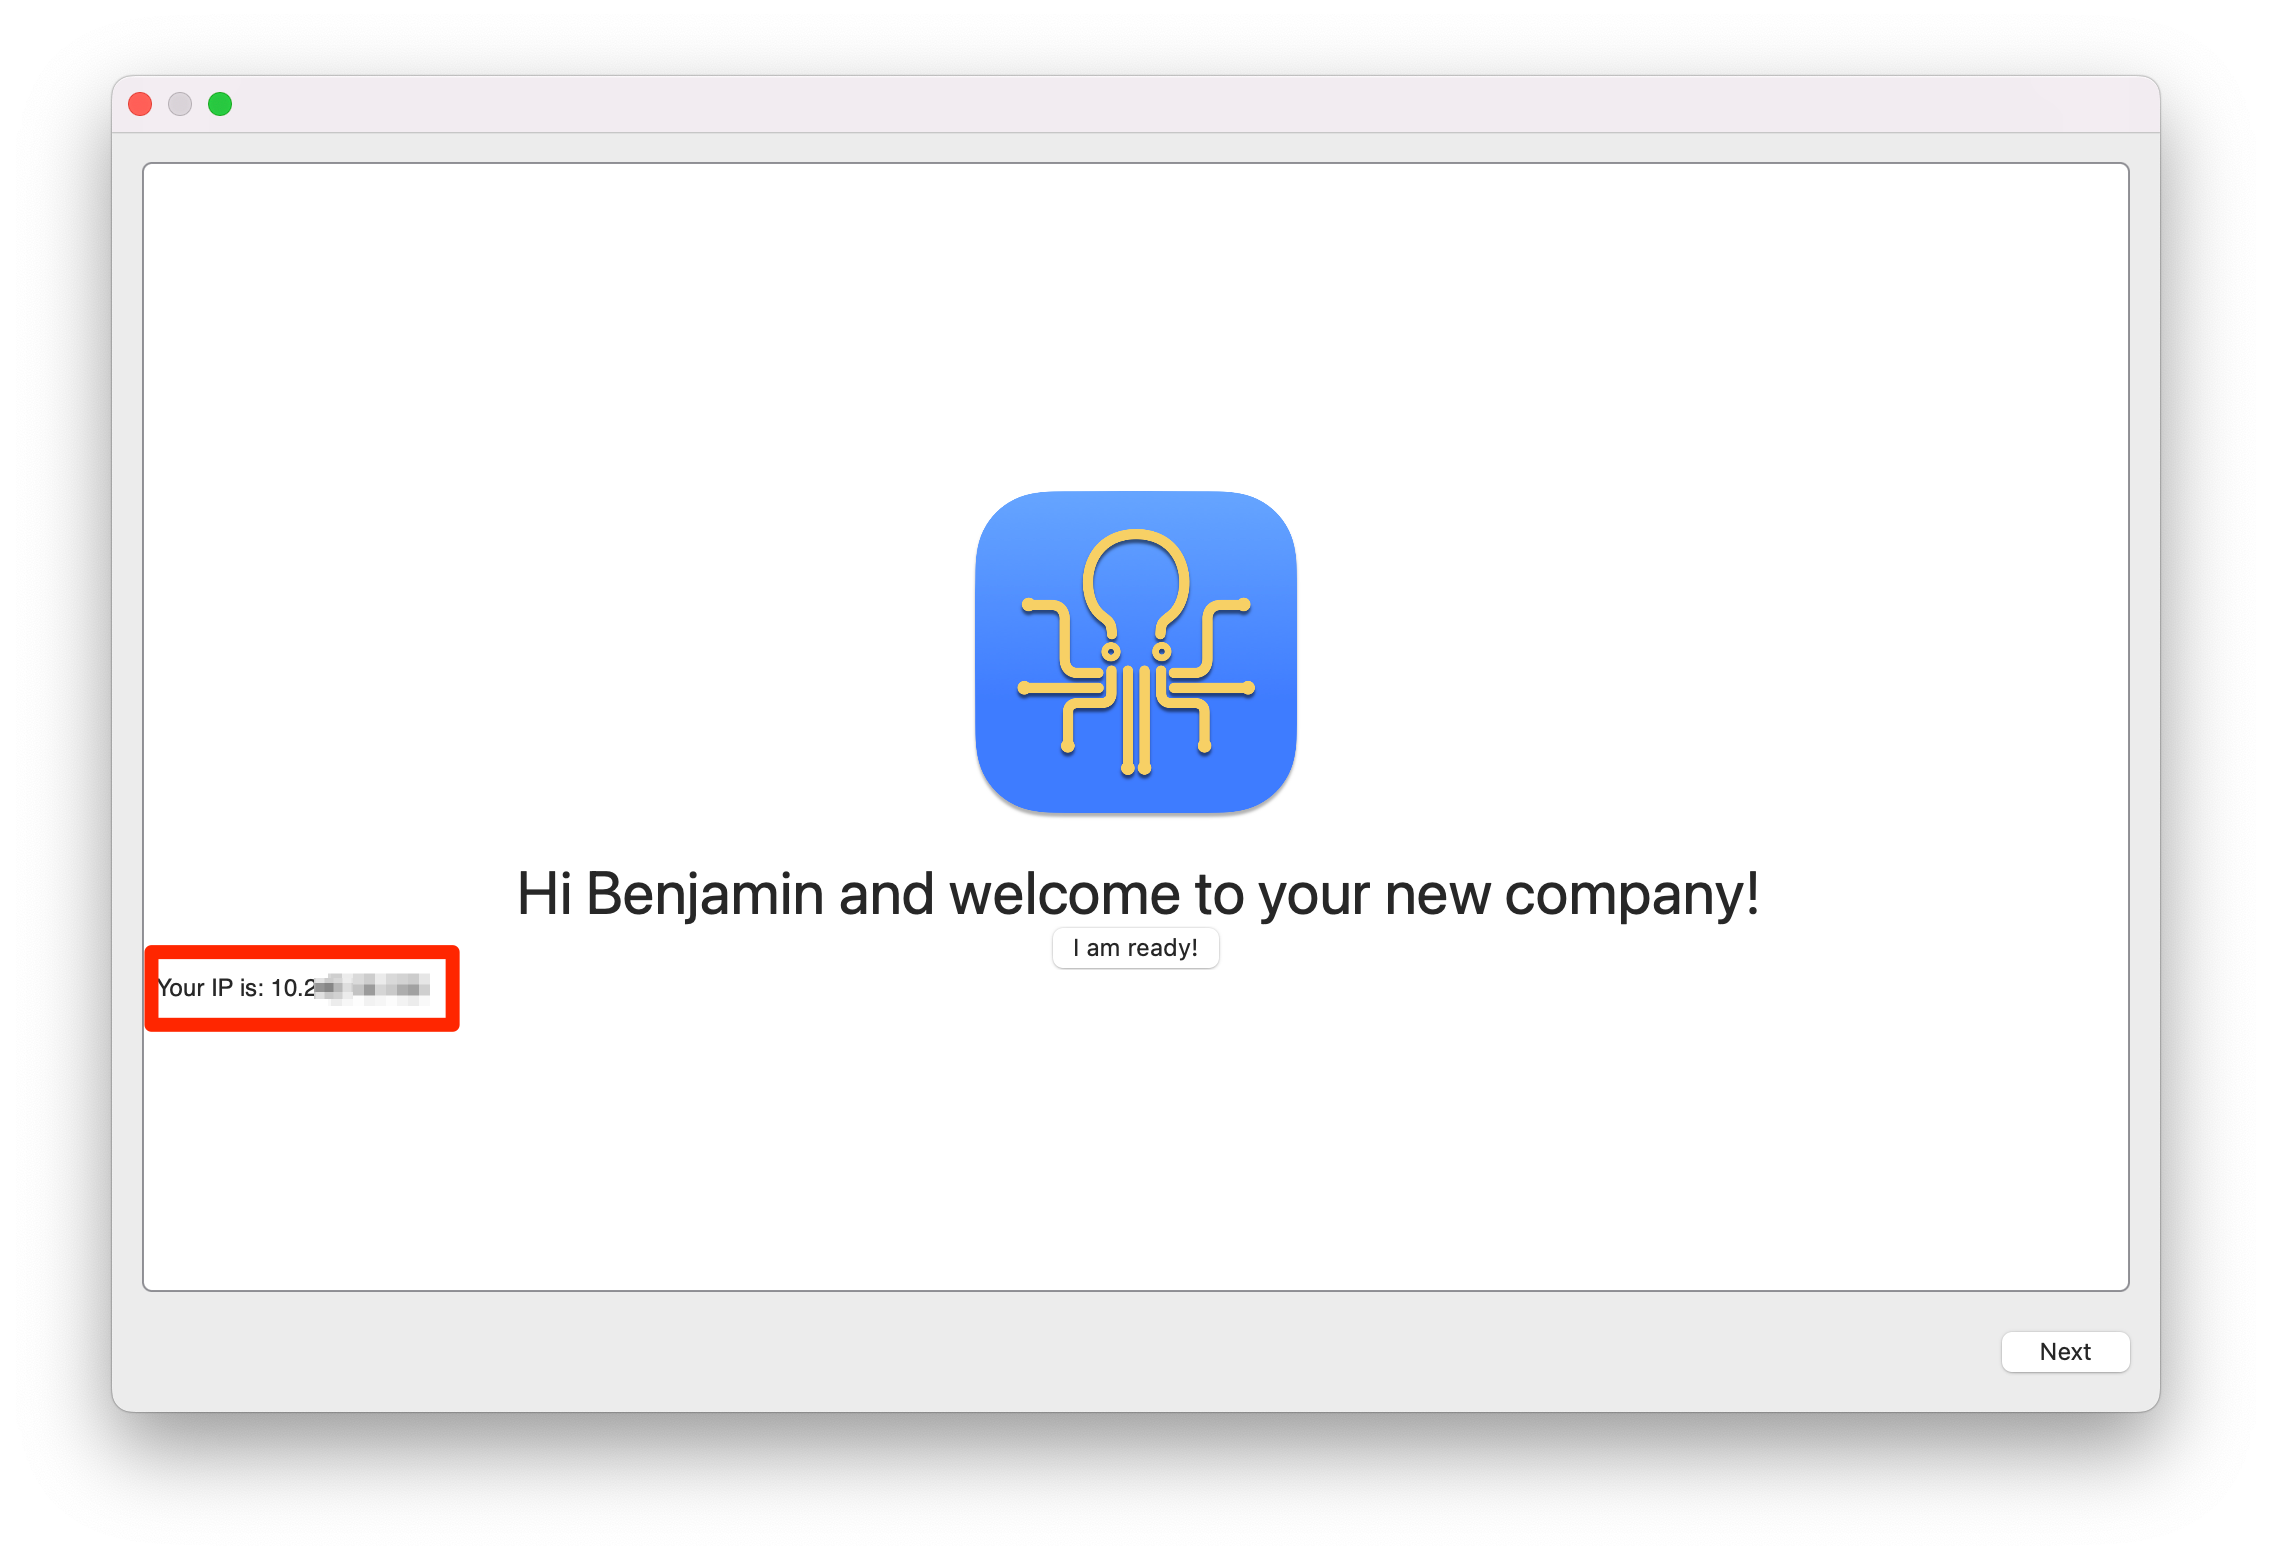
You could also use that variable in a condition within your workflow.
Add an alert when installation complete
Octory PRO gives you the opportunity to display alert popups. We will now add one which will let the user now that all monitors have reached their final state.
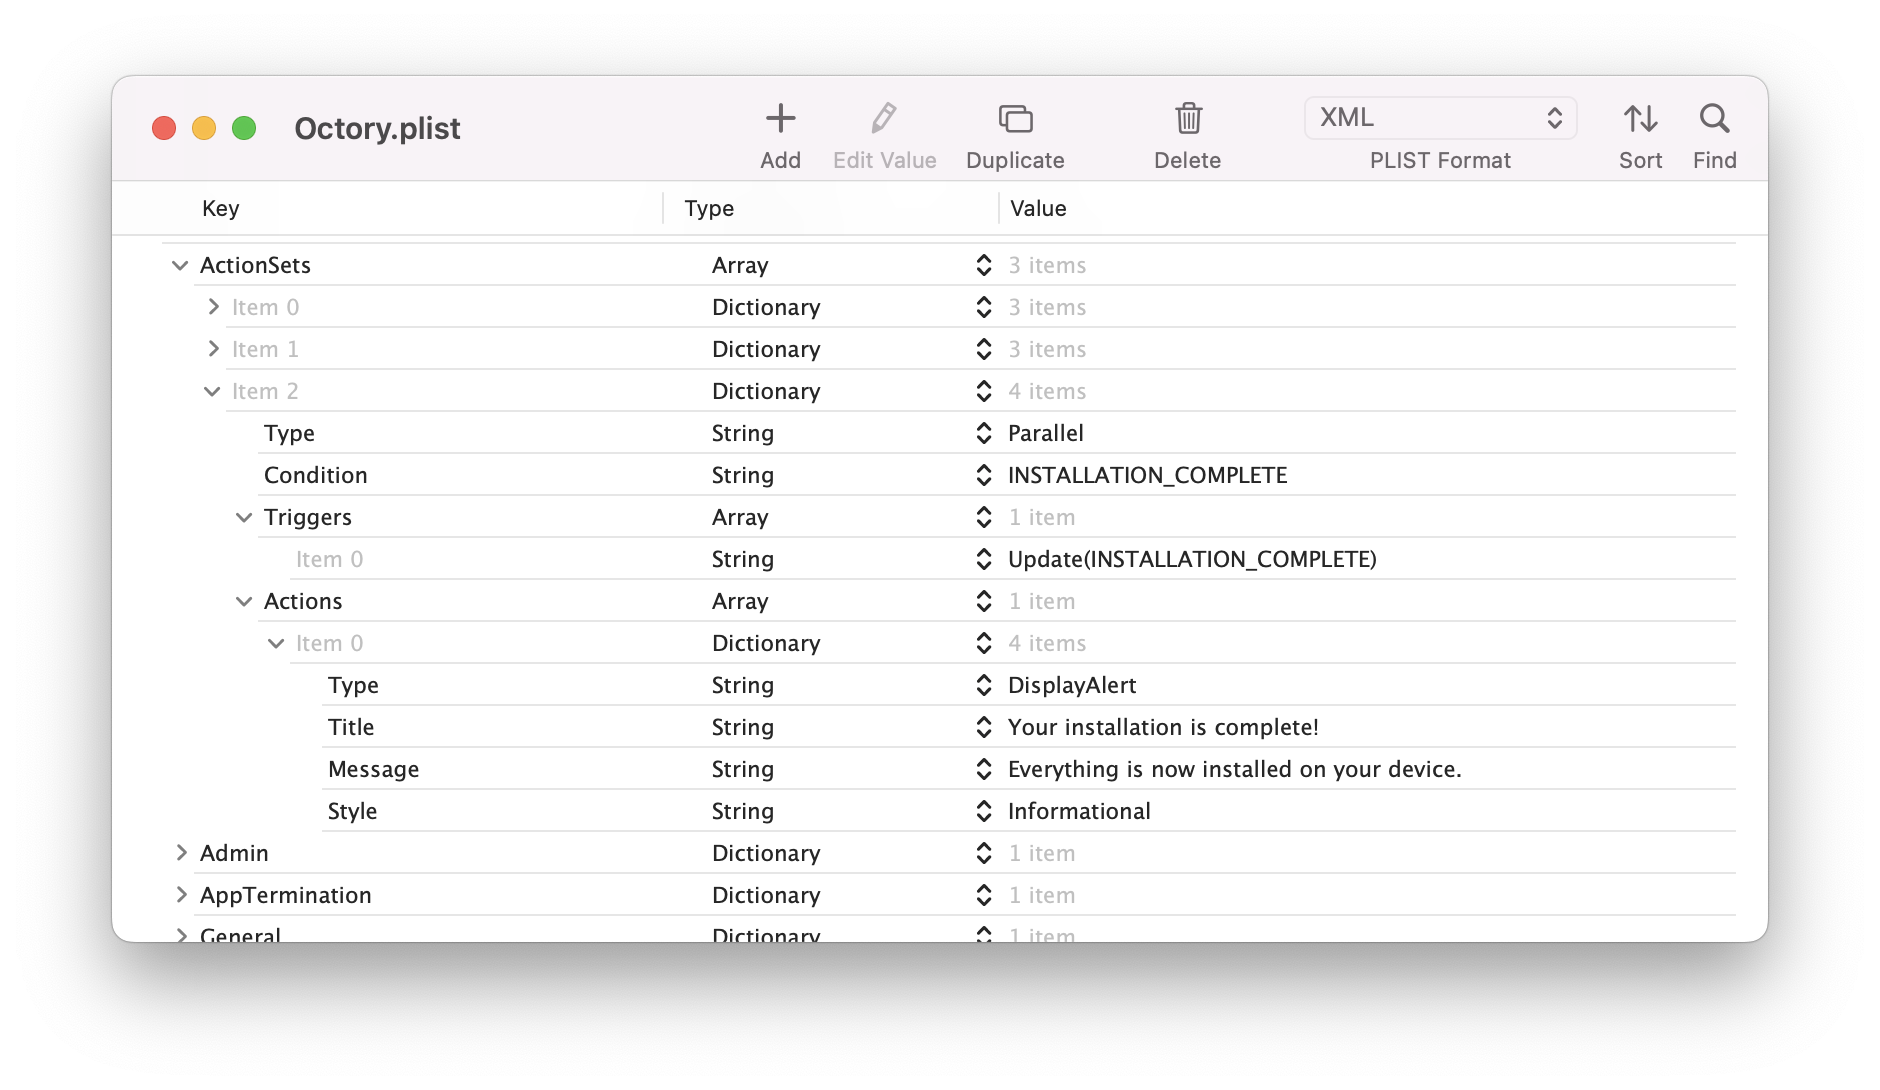
- Create another
ActionSetof Parallel type. - Use the trigger Update(Variable) which let us execute the ActionSet when a variable is updated. The variable we are going to observe is one generated by Octory:
INSTALLATION_COMPLETE.INSTALLATION_COMPLETEis set to true when all application monitors are installed. By using the trigger Update(INSTALLATION_COMPLETE), we are telling Octory to execute the set whenever this variable changes. - Add a condition to execute the ActionSet only when
INSTALLATION_COMPLETEis true. - Create our DisplayAlert action.
A DisplayAlert action has three required keys: the string
Titlekey is the alert title, the stringMessagekey is the message displayed below the title, and the stringStylekey lets us choose the alert style: Informational, Warning, Critical. We will use the Informational value, but you are free to test the two others.
Now relaunch the application (not reload its interface). Navigate to the Admin menu bar and click on “Reach end of simulation” (⌥⌘M), all the monitors should be set as “Installed” and the alert should appear in the top of Octory window:

You can customise an alert by tweaking buttons, changing the icon or associate variables. Check the Display Alert section.
Final result
You can find the final plist file below.
<?xml version="1.0" encoding="UTF-8"?>
<!DOCTYPE plist PUBLIC "-//Apple//DTD PLIST 1.0//EN" "http://www.apple.com/DTDs/PropertyList-1.0.dtd">
<plist version="1.0">
<dict>
<key>ActionSets</key>
<array>
<dict>
<key>Type</key>
<string>Parallel</string>
<key>Actions</key>
<array>
<dict>
<key>Type</key>
<string>UpdateVariable</string>
<key>Variable</key>
<string>userReady</string>
<key>NewValue</key>
<string>YES</string>
</dict>
</array>
<key>Triggers</key>
<array>
<string>Custom(readyButton)</string>
</array>
</dict>
<dict>
<key>Type</key>
<string>Parallel</string>
<key>Triggers</key>
<array>
<string>Launch</string>
</array>
<key>Actions</key>
<array>
<dict>
<key>Type</key>
<string>ExecuteCommand</string>
<key>Command</key>
<string>ifconfig | grep "inet " | head -n 2 | tail -n 1 | cut -d " " -f 2</string>
<key>Variable</key>
<string>myIP</string>
</dict>
</array>
</dict>
<dict>
<key>Type</key>
<string>Parallel</string>
<key>Condition</key>
<string>INSTALLATION_COMPLETE</string>
<key>Triggers</key>
<array>
<string>Update(INSTALLATION_COMPLETE)</string>
</array>
<key>Actions</key>
<array>
<dict>
<key>Type</key>
<string>DisplayAlert</string>
<key>Title</key>
<string>Your installation is complete!</string>
<key>Message</key>
<string>Everything is now installed on your device.</string>
<key>Style</key>
<string>Informational</string>
</dict>
</array>
</dict>
</array>
<key>Admin</key>
<dict>
<key>IsAdminModeEnabled</key>
<true/>
</dict>
<key>AppTermination</key>
<dict>
<key>ExecuteAsRoot</key>
<true/>
</dict>
<key>General</key>
<dict>
<key>Variables</key>
<dict>
<key>Icons</key>
<string>${Resources}/Icons</string>
<key>Images</key>
<string>${Resources}/Images</string>
<key>Resources</key>
<string>${OCTORY_DIRECTORY}/Resources</string>
<key>Scripts</key>
<string>${Resources}/Scripts</string>
<key>userReady</key>
<string>NO</string>
</dict>
</dict>
<key>FontStyles</key>
<dict>
<key>Main</key>
<dict>
<key>TextAlignment</key>
<string>Center</string>
<key>Size</key>
<integer>30</integer>
</dict>
</dict>
<key>Monitoring</key>
<dict>
<key>Monitors</key>
<array>
<dict>
<key>Type</key>
<string>Application</string>
<key>Name</key>
<string>google-chrome</string>
<key>DisplayName</key>
<string>Google Chrome</string>
<key>Installer</key>
<string>Jamf</string>
<key>Detail</key>
<string>Surfing the internet 🏄</string>
<key>IconURL</key>
<string>${Icons}/chrome.png</string>
</dict>
<dict>
<key>Type</key>
<string>Application</string>
<key>Name</key>
<string>zoom</string>
<key>DisplayName</key>
<string>Zoom</string>
<key>Installer</key>
<string>Jamf</string>
<key>Detail</key>
<string>Calling your prospects</string>
<key>IconURL</key>
<string>${Icons}/zoom.png</string>
</dict>
<dict>
<key>Type</key>
<string>Application</string>
<key>Name</key>
<string>slack</string>
<key>DisplayName</key>
<string>Slack</string>
<key>Installer</key>
<string>Jamf</string>
<key>Detail</key>
<string>Engage with your coworkers!</string>
<key>IconURL</key>
<string>${Icons}/slack.png</string>
</dict>
</array>
</dict>
<key>Slides</key>
<array>
<dict>
<key>Containers</key>
<array>
<dict>
<key>Components</key>
<array>
<dict>
<key>Type</key>
<string>Spacer</string>
</dict>
<dict>
<key>Type</key>
<string>Image</string>
<key>URL</key>
<string>${Images}/Logo.png</string>
</dict>
<dict>
<key>Type</key>
<string>Text</string>
<key>Text</key>
<string>Hi ${USER_FIRST_NAME} and welcome to your new company!</string>
<key>TextFontConfiguration</key>
<dict>
<key>Style</key>
<string>Main</string>
</dict>
</dict>
<dict>
<key>Type</key>
<string>Button</string>
<key>Style</key>
<string>Simple</string>
<key>Text</key>
<string>I am ready!</string>
<key>Alignment</key>
<string>Center</string>
<key>Trigger</key>
<string>readyButton</string>
</dict>
<dict>
<key>Type</key>
<string>Text</string>
<key>Text</key>
<string>Great! Click on Next to start your onboarding...</string>
<key>TextFontConfiguration</key>
<dict>
<key>Style</key>
<string>Main</string>
</dict>
<key>Condition</key>
<string>userReady == "YES"</string>
</dict>
<dict>
<key>Type</key>
<string>Text</string>
<key>Text</key>
<string>Your IP is: ${myIP}</string>
</dict>
<dict>
<key>Type</key>
<string>Spacer</string>
</dict>
</array>
</dict>
</array>
</dict>
<dict>
<key>Containers</key>
<array>
<dict>
<key>Components</key>
<array>
<dict>
<key>Type</key>
<string>Video</string>
<key>URL</key>
<string>${Resources}/IntroVideo.mp4</string>
</dict>
</array>
</dict>
</array>
</dict>
<dict>
<key>Containers</key>
<array>
<dict>
<key>Components</key>
<array>
<dict>
<key>Type</key>
<string>PDF</string>
<key>URL</key>
<string>https://www.termsfeed.com/public/uploads/2021/12/sample-eula-template.pdf</string>
</dict>
<dict>
<key>Type</key>
<string>Input</string>
<key>InputType</key>
<string>Checkboxes</string>
<key>Variable</key>
<string>EULA_Agreement</string>
<key>Items</key>
<array>
<string>I acknowledge and agree</string>
</array>
<key>Validation</key>
<dict>
<key>WarningText</key>
<string>Please acknolwedge and agree to the EULA before continuing.</string>
</dict>
</dict>
</array>
</dict>
</array>
</dict>
<dict>
<key>Containers</key>
<array>
<dict>
<key>IsLarge</key>
<true/>
<key>Components</key>
<array>
<dict>
<key>Type</key>
<string>Web</string>
<key>URL</key>
<string>https://www.octory.io</string>
</dict>
</array>
</dict>
<dict>
<key>Components</key>
<array>
<dict>
<key>Type</key>
<string>MonitorsDisplay</string>
</dict>
</array>
</dict>
</array>
</dict>
</array>
<key>Window</key>
<dict>
<key>OnScreen</key>
<string>Simple</string>
<key>Position</key>
<dict>
<key>Vertical</key>
<string>Center</string>
<key>Horizontal</key>
<string>Center</string>
</dict>
<key>MinimumSize</key>
<dict>
<key>Height</key>
<integer>640</integer>
<key>Width</key>
<integer>1024</integer>
</dict>
</dict>
</dict>
</plist>