Create a custom Octory package
Intro
This section will describe the steps to create a custom Octory package from scratch to distribute Octory with an MDM solution. This method allows Mac administrators to create custom Octory deployments.
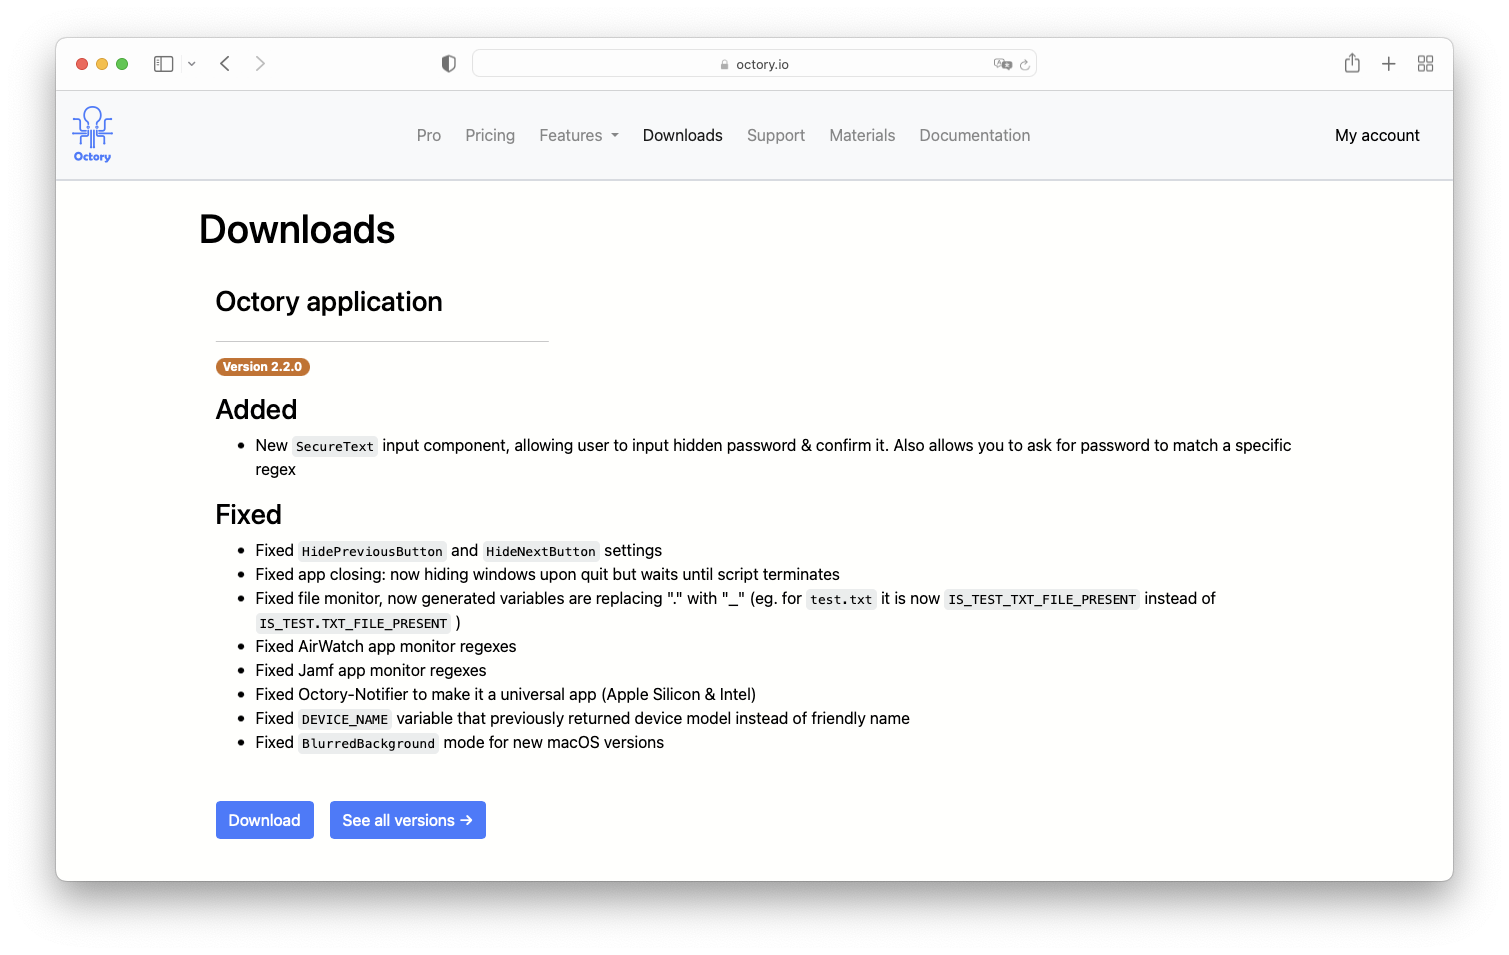
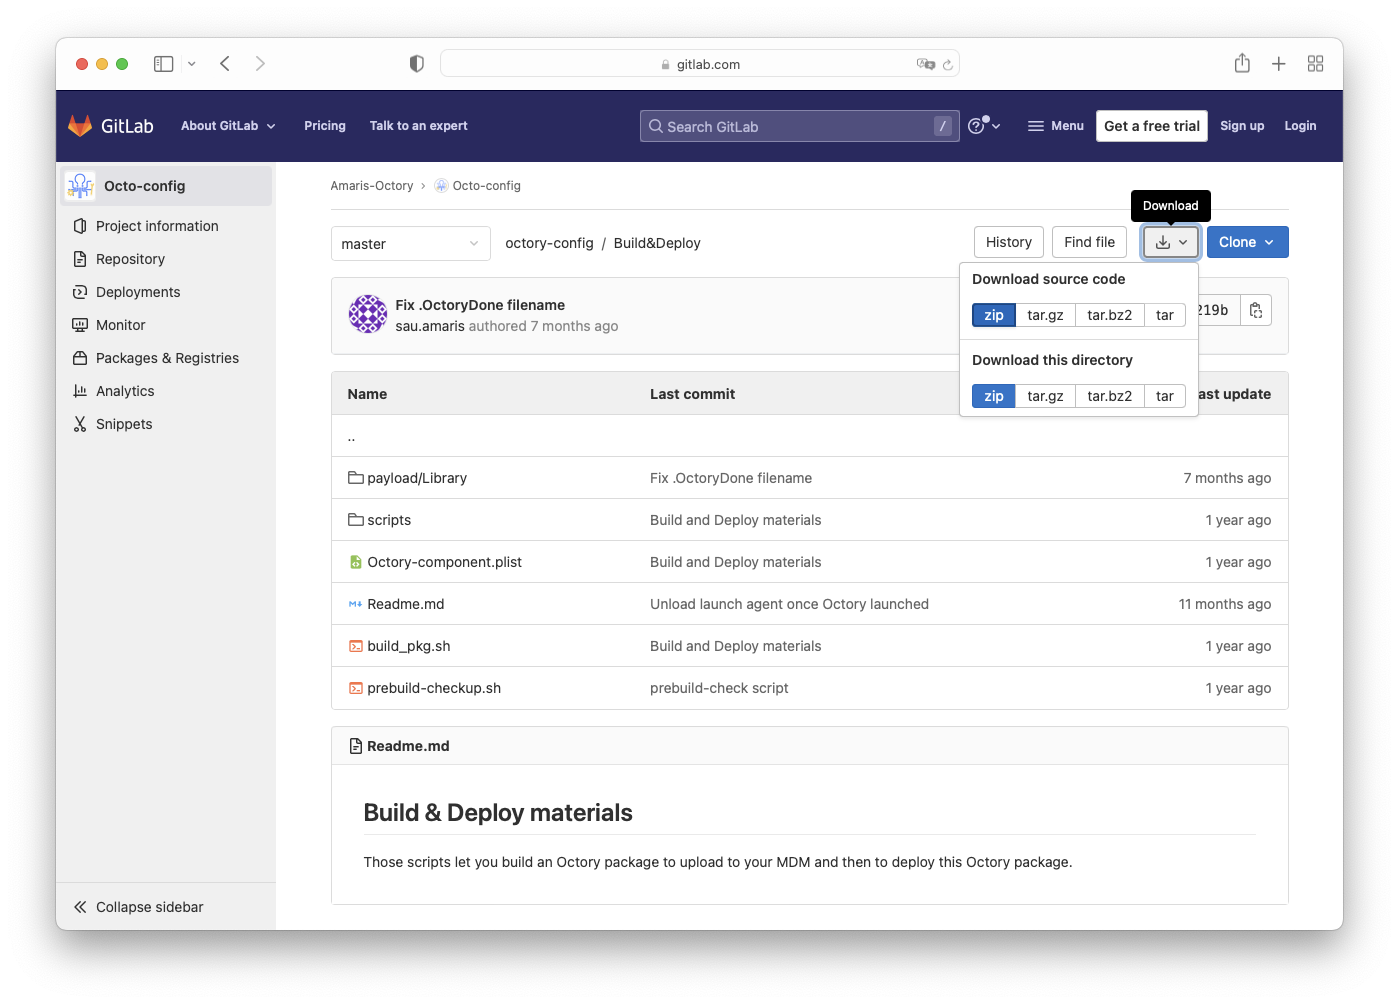
The resources to create a custom package can be downloaded from Octory Download and Octory - Build & Deploy.
Custom Octory packages can be deployed as Bootstrap packages when signed with a Developer Signing Certificate provided by Apple. Some MDM solutions (like Jamf Pro) allow the creation of a Signing Certificate for this purpose.
Consider the following checklist as a reference to create custom Octory packages:
- Download the latest versions of Octory
- Ownership and permissions of Octory.plist and Scripts
- Octory Licence for Pro deployments
- build_pkg.sh script to create packages
- Baseline files:
⋅ Octory.plist
⋅ Octory.launch.sh
⋅ com.amaris.octory.launch.plist (LaunchAgent)
⋅ Licence (Pro Version)
Main components
The main components for deployment are:
- Octory.app
- Octory.plist
- Octory.launch.sh
- Resources folder (recommended)
- Scripts folder
- Licence.json (for Pro deployments)
Download Resources
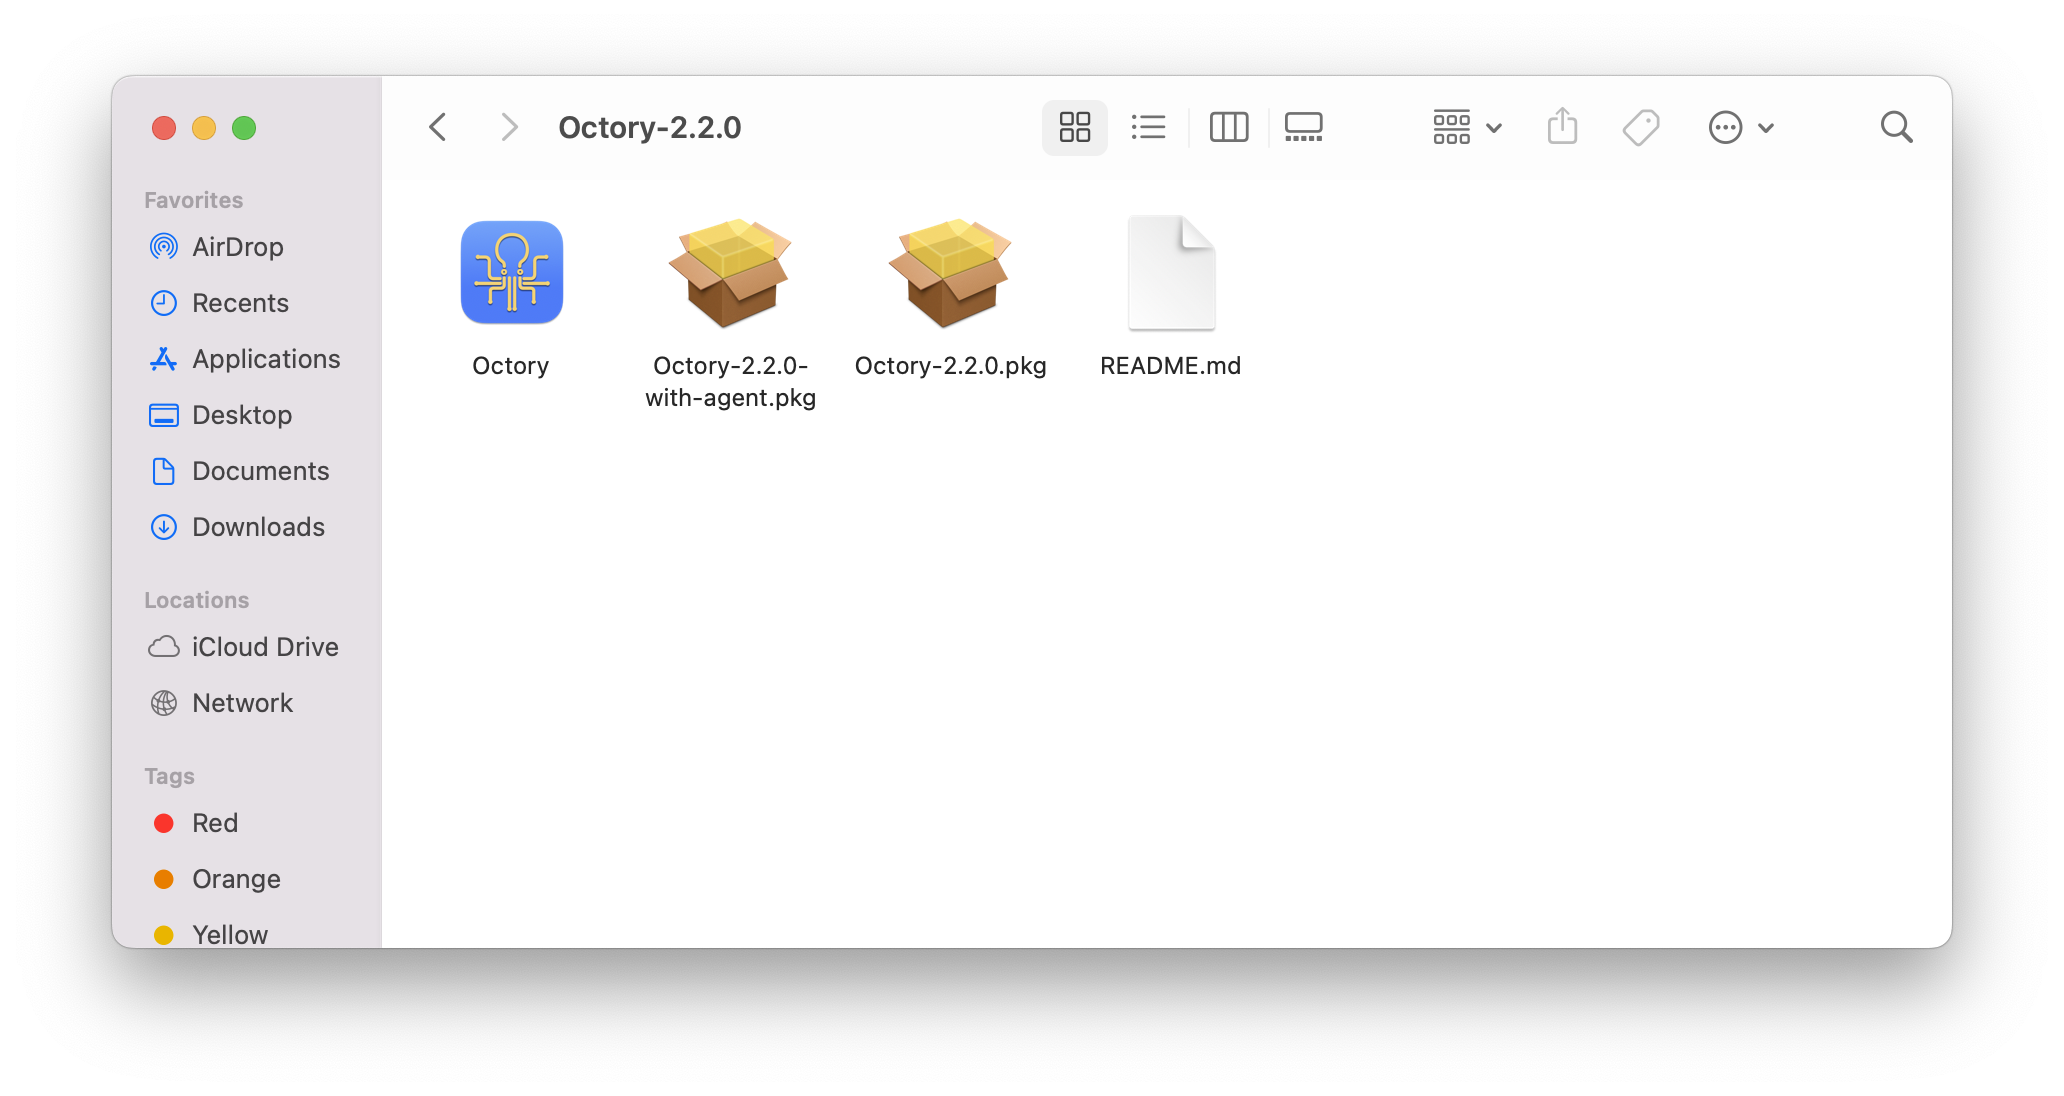
- Octory application
- Build & Deploy materials
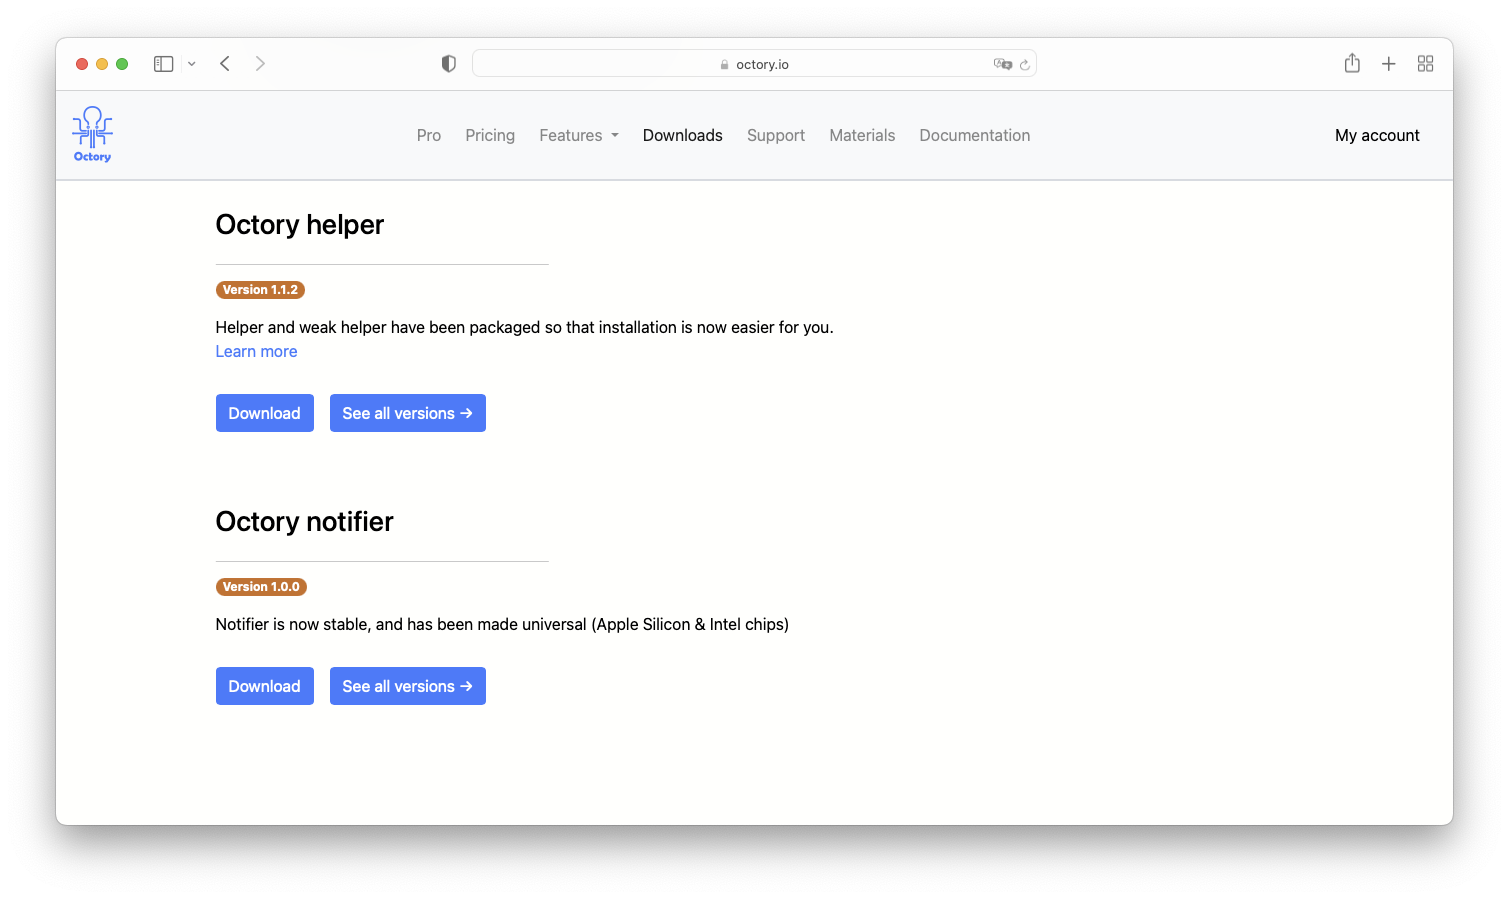
In addition it is required to download Octory helper and Octory Notifier (optional) packages.
Create your base folder
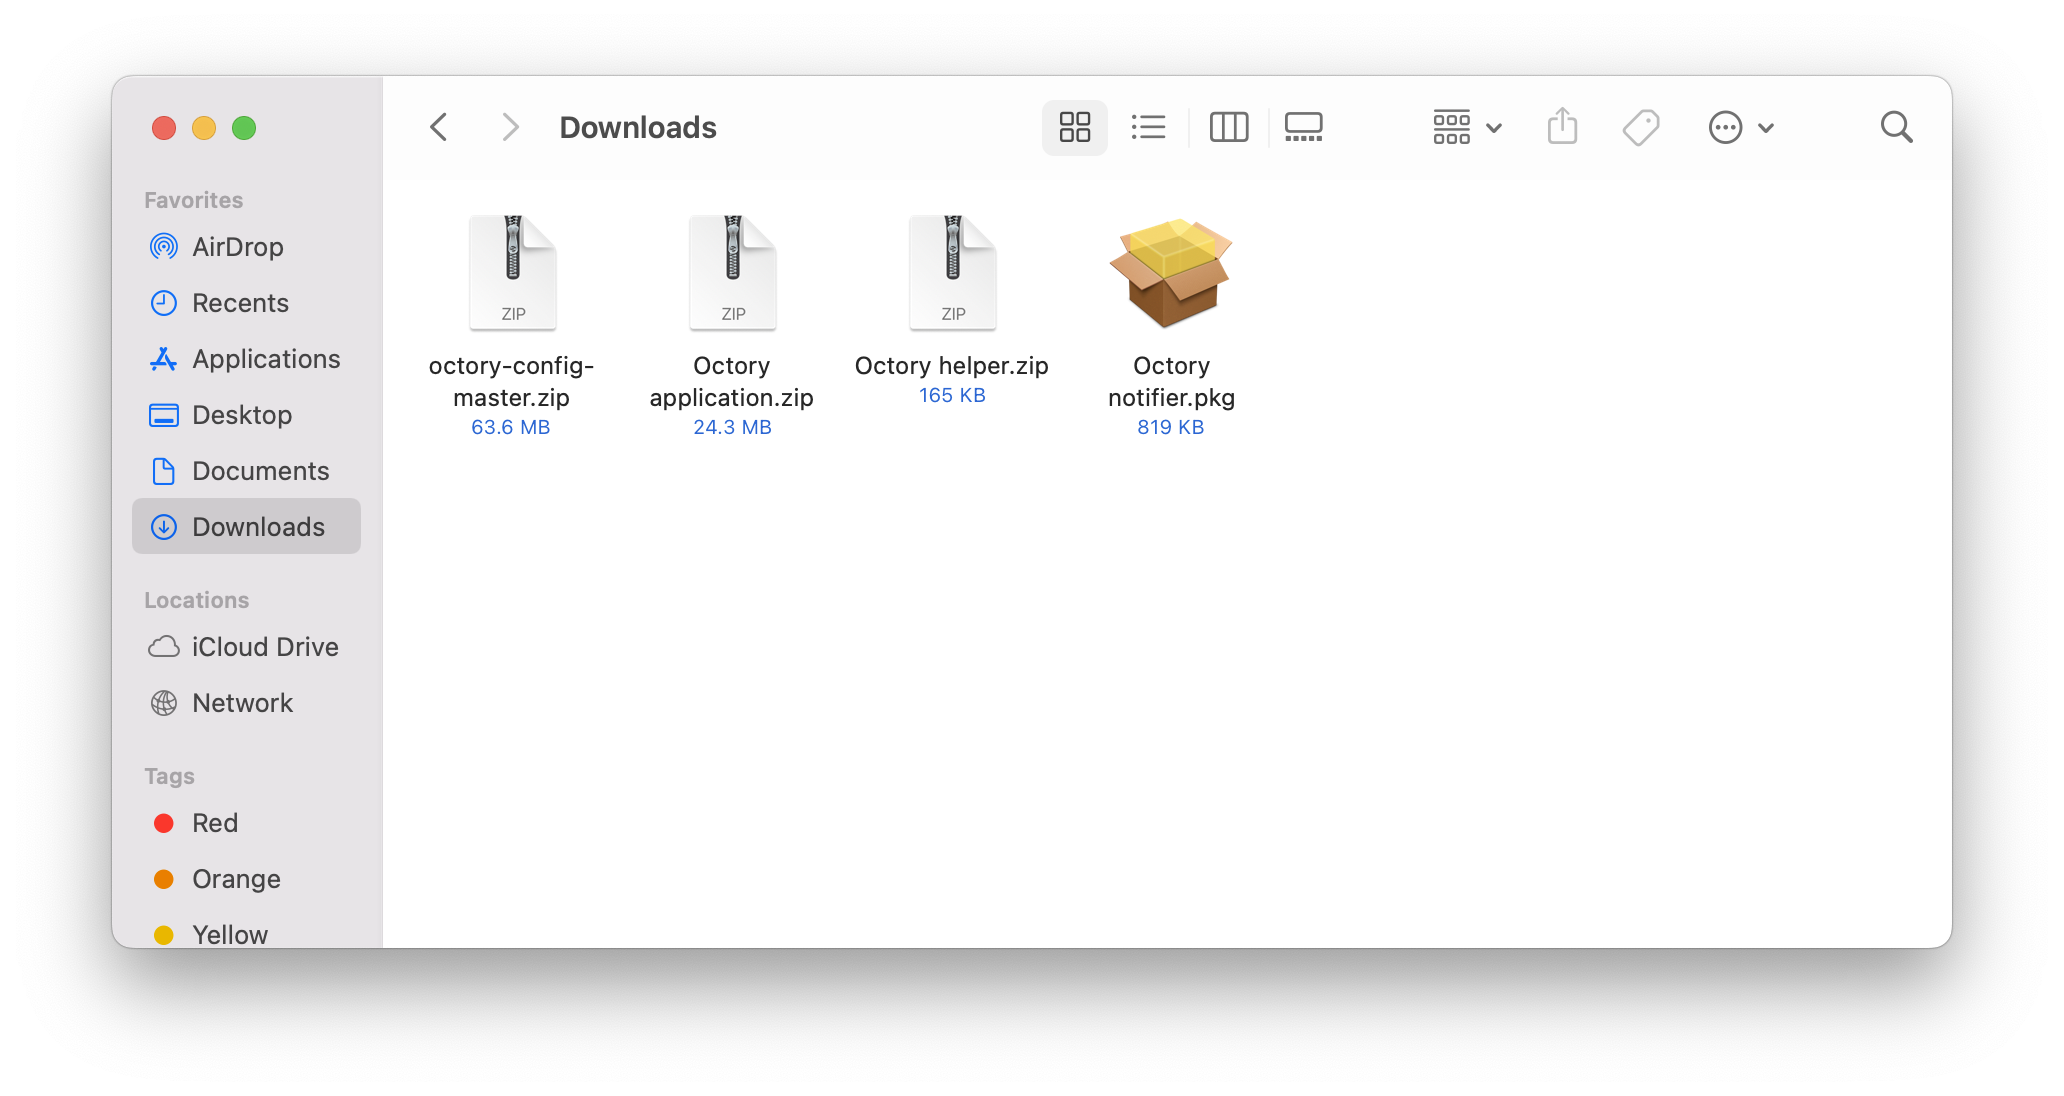
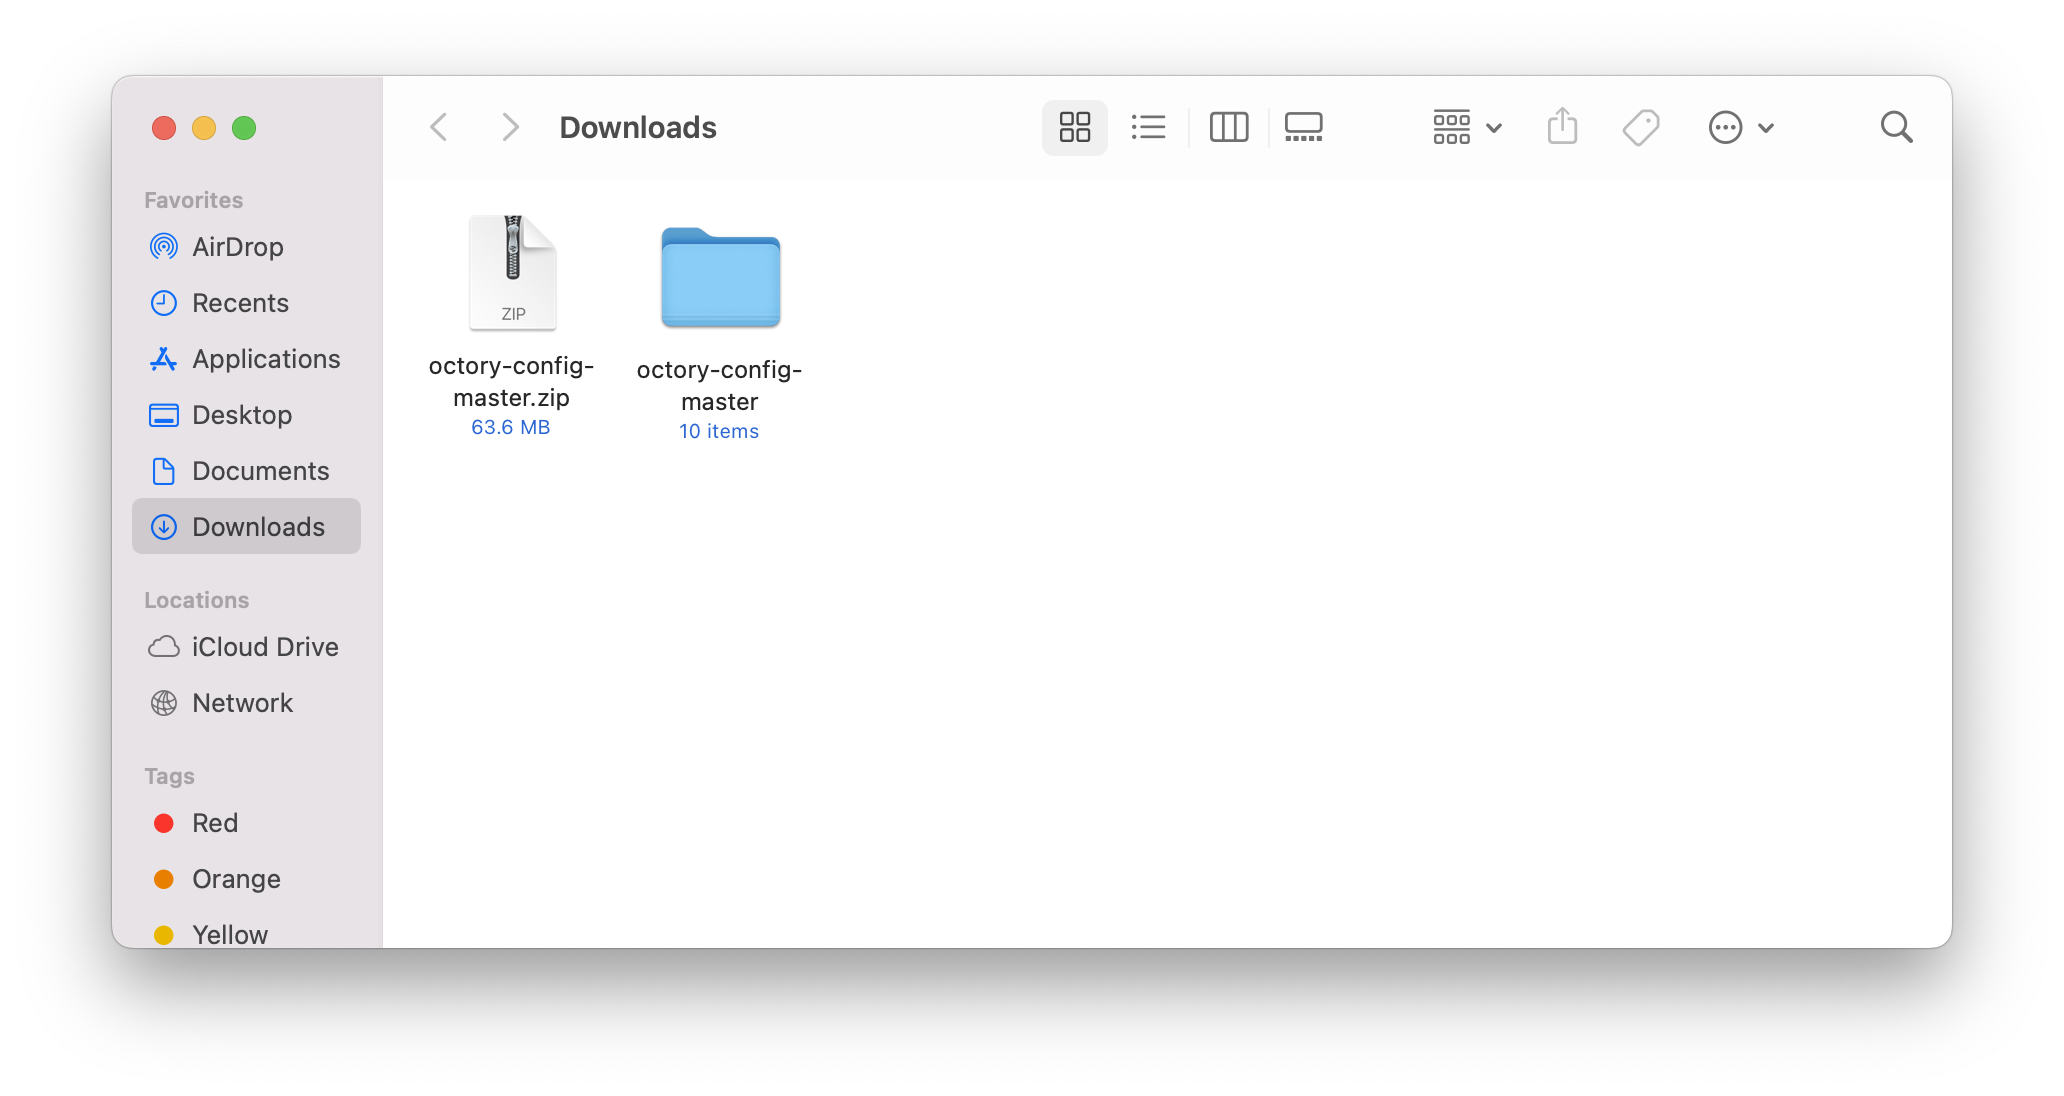
Unzip Octory.zip and octory-config-master.zip files and copy both folders to your preferred location (PATH_TO)
Locate the Build&Deploy folder.
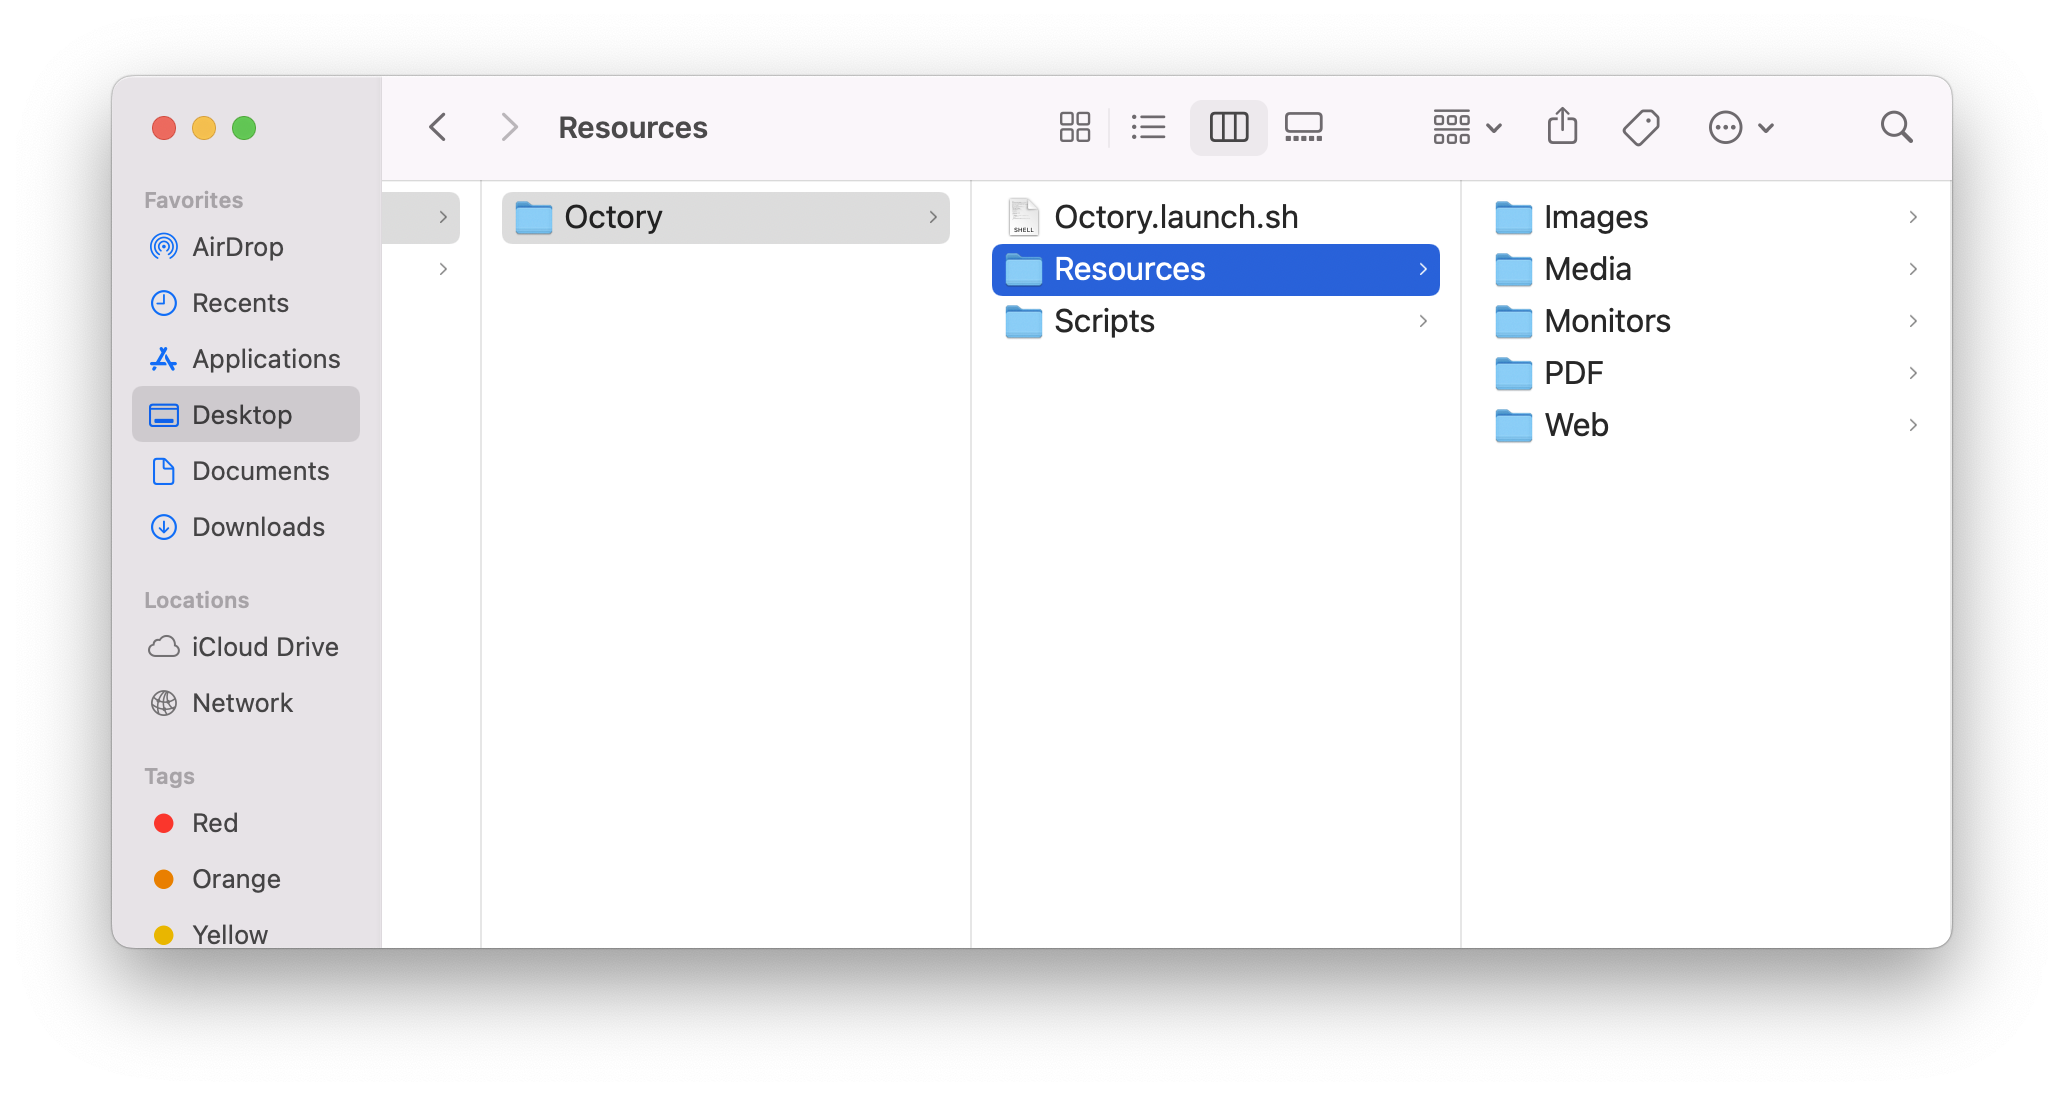
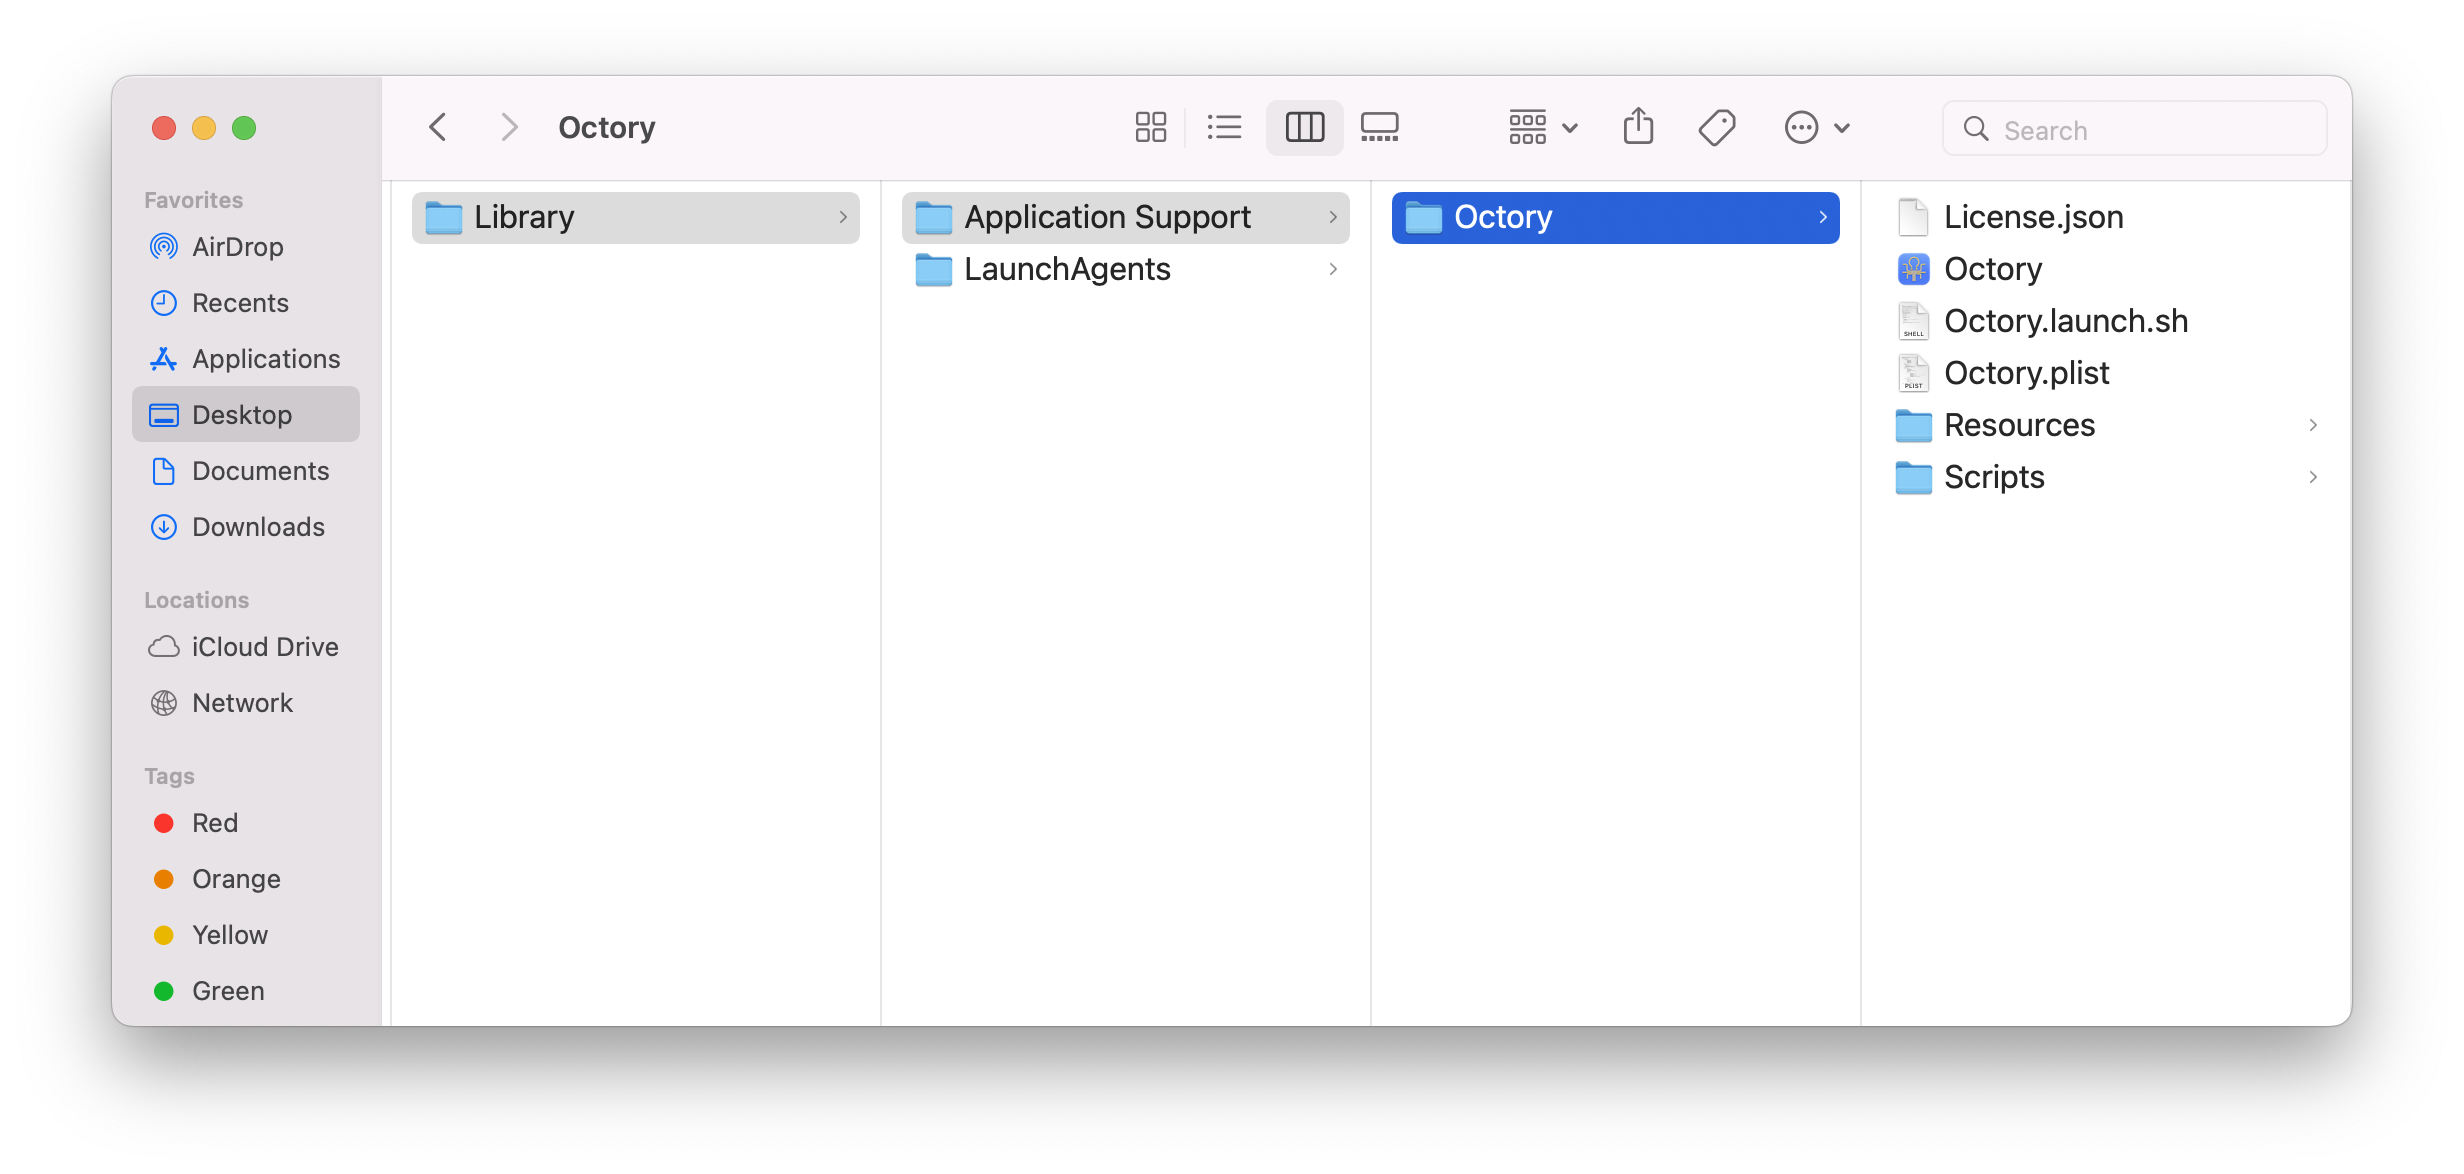
Navigate to ~/PATH_TO/octory-config-master/Build&Deploy/payload/Library/Application Support/Octory and create the following folder structure in Ressources 1:
- Images
- Media
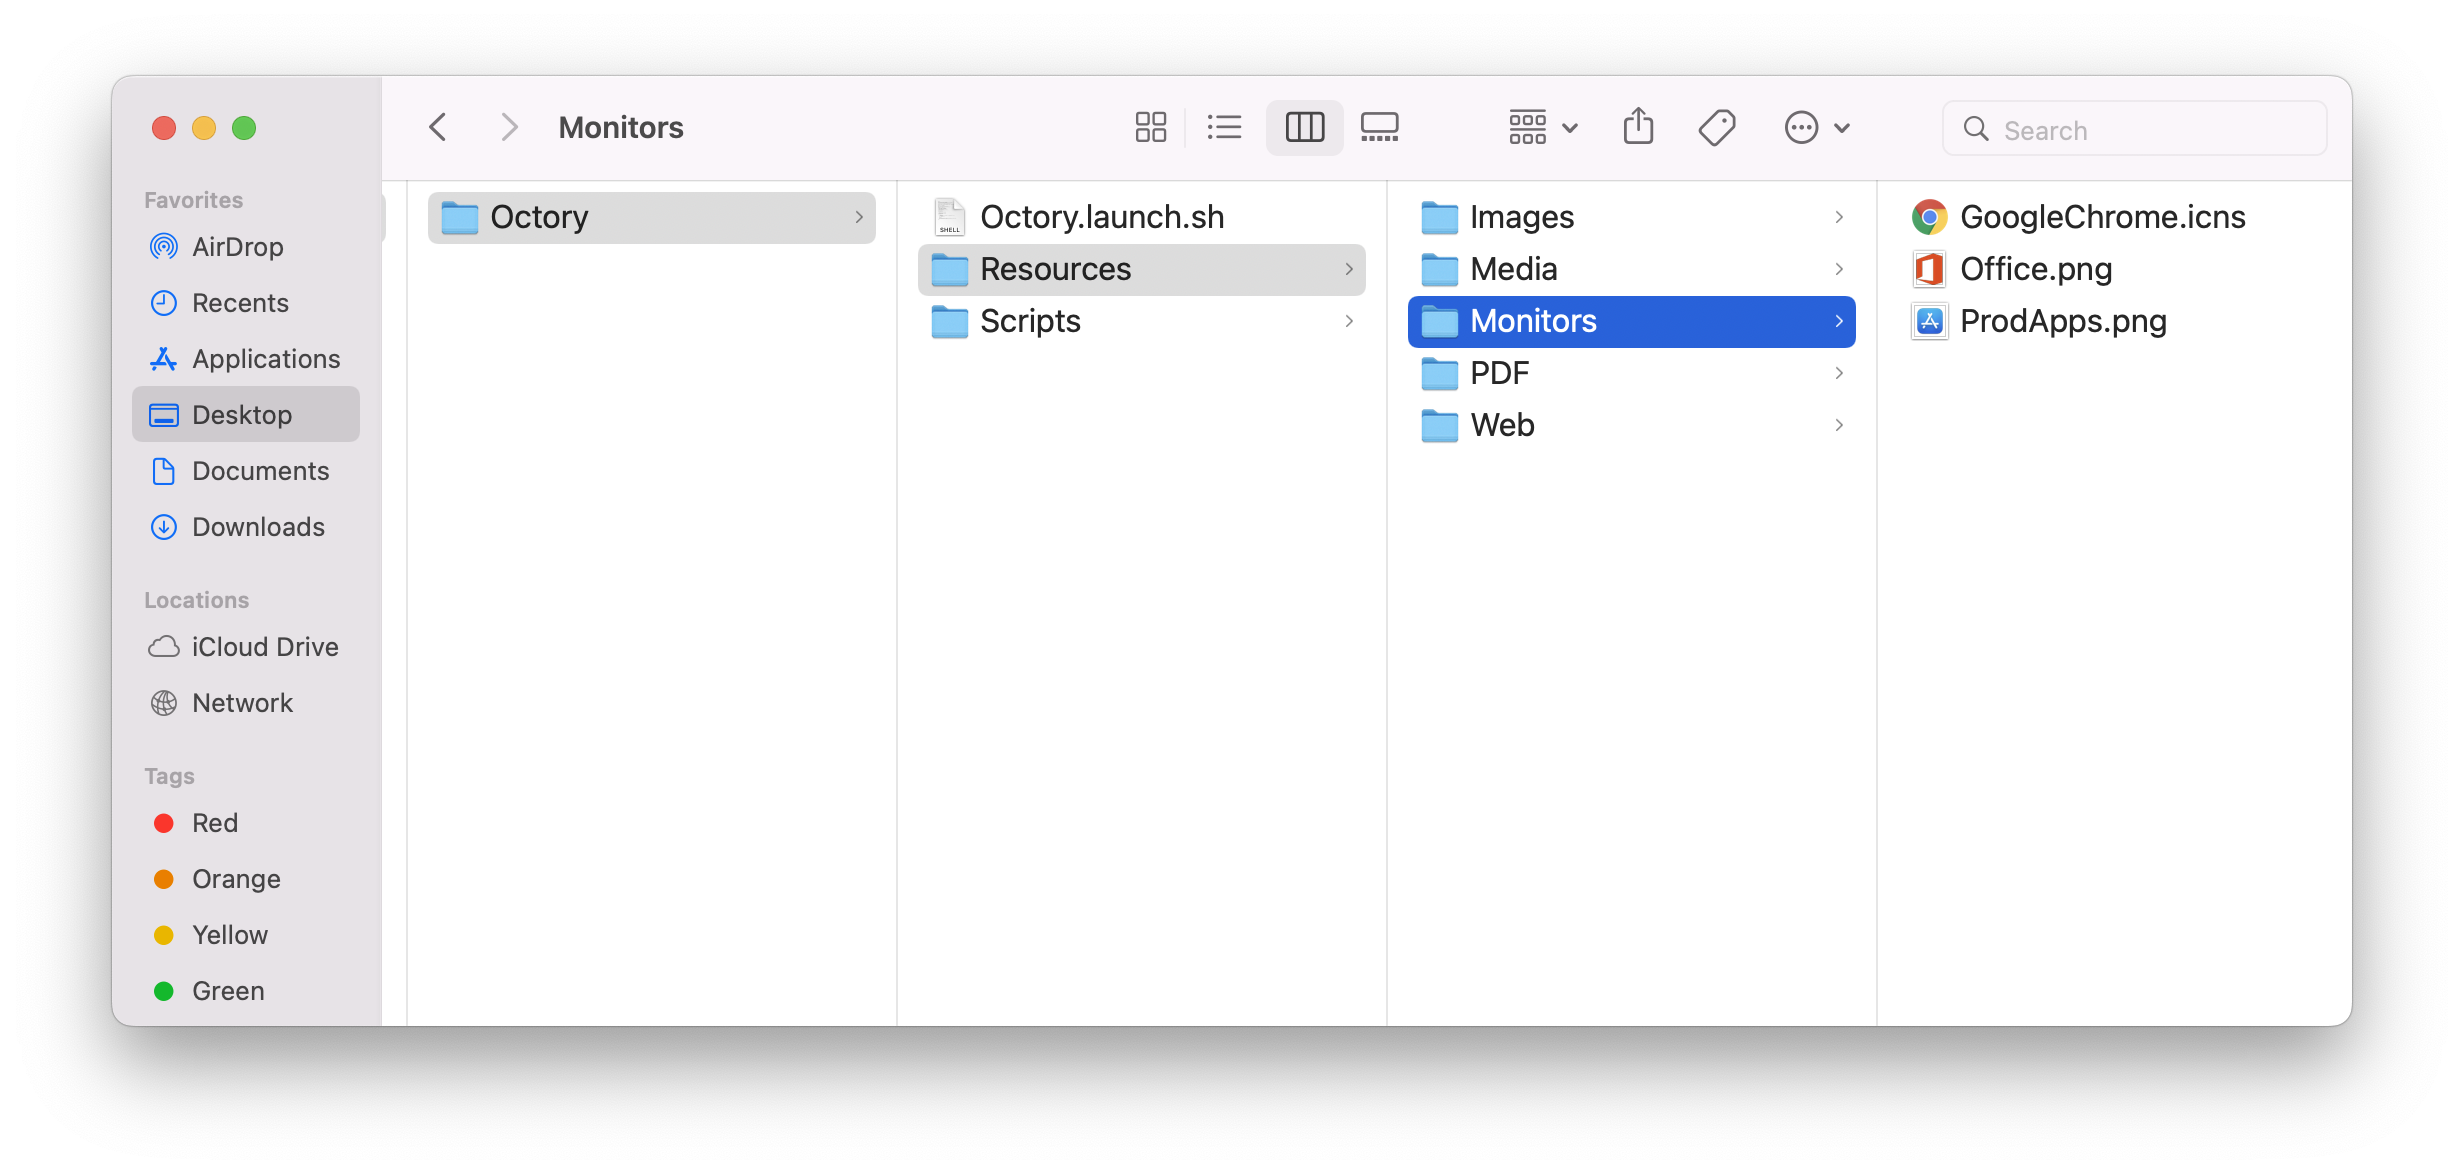
- Monitors
- Web
Copy resources (images, scripts, documents, and media) in its corresponding folder.
Apply proper permissions
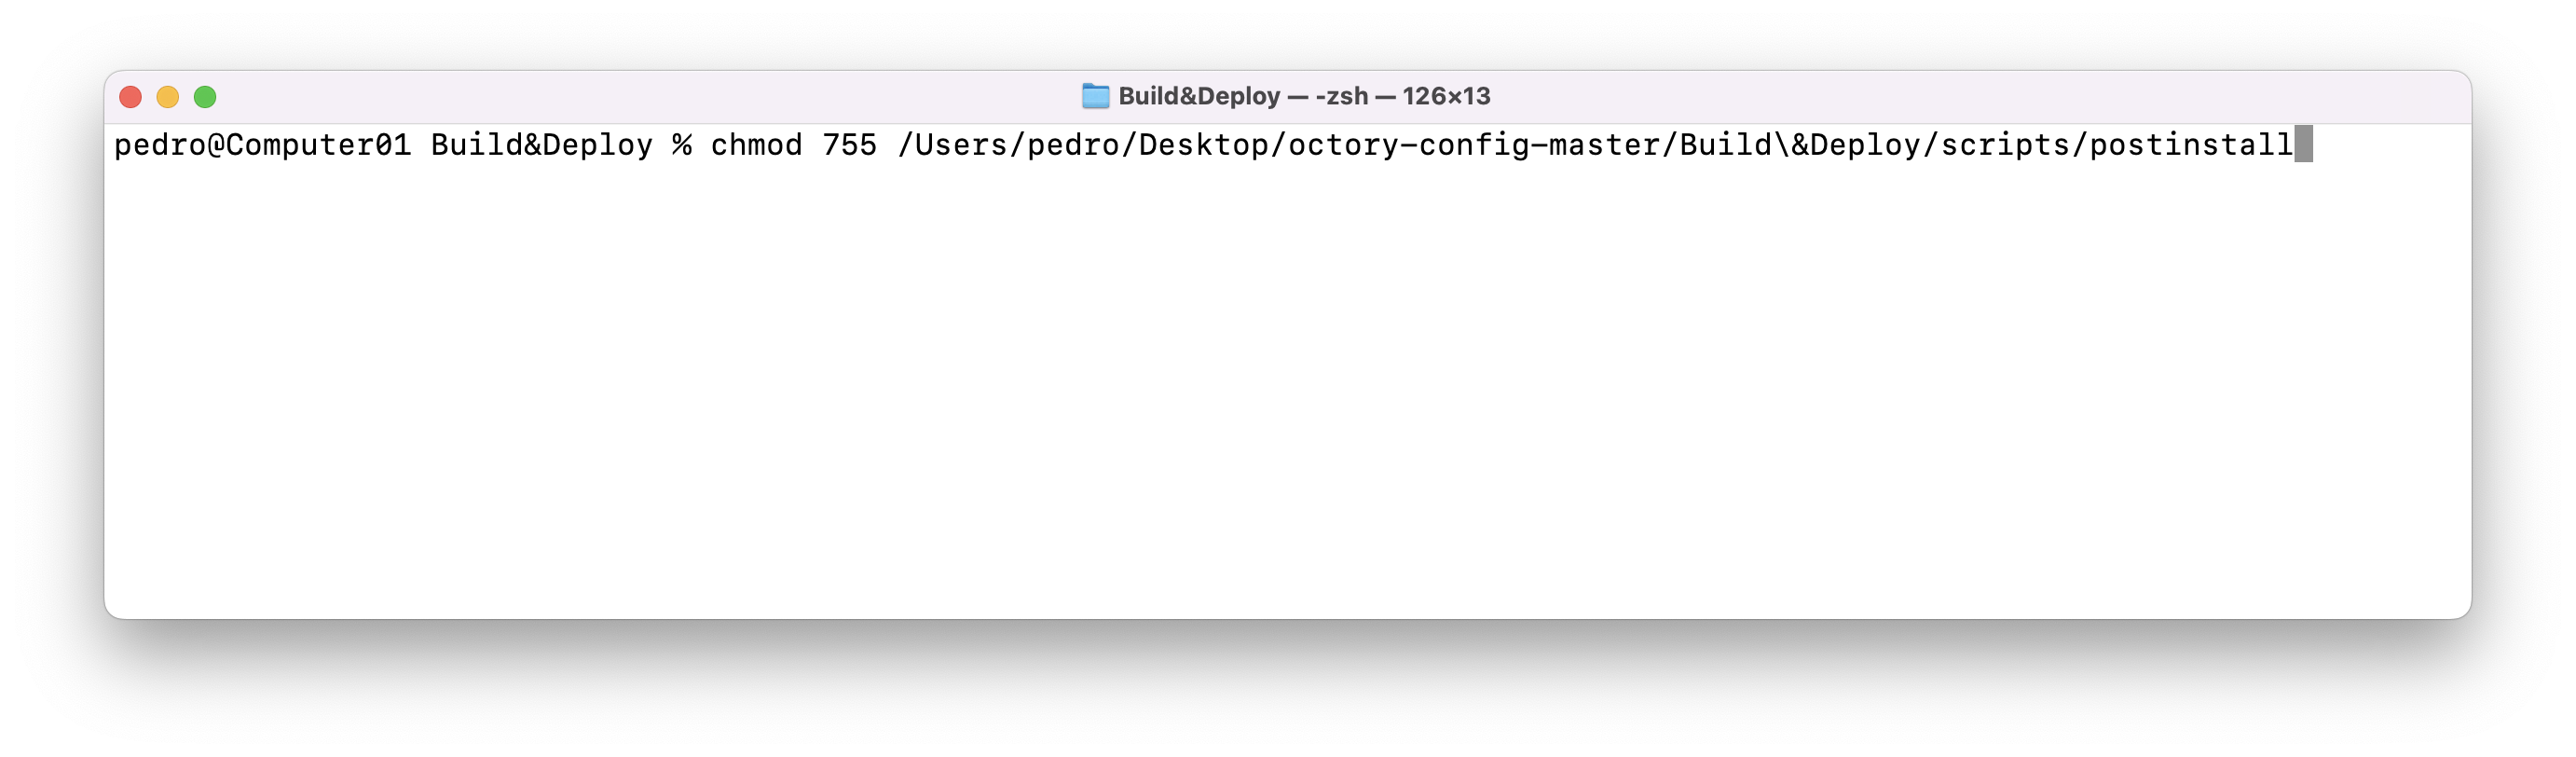
Navigate to ~/PATH_TO/octory-config-master/Build&Deploy/scripts/ locate the file postinstall.sh.
Remove the .sh extension

Apply permissions to the file
chmod 755 ~/PATH_TO/octory-config-master/Build&Deploy/scripts/postinstall
Locate Octory.app inside the folder ~/Downloads/Octory-VERSION/
Copy Octory.app to ~/PATH_TO/octory-config-master/Build&Deploy/payload/Library/Application Support/Octory
Locate Octory.plist (Octory configuration for deployment) and License.json (License file if you have one) and copy the files to: ~/PATH_TO/octory-config-master/Build&Deploy/payload/Library/Application Support/Octory
Octory.plist requires the following ownership and permissions: root:wheel 644.
Run the following commands to configure the file.
chmod 644 ~/PATH_TO/octory-config-master/Build&Deploy/payload/Library/Application Support/Octory/Octory.plist
sudo chown root:wheel ~/PATH_TO/octory-config-master/Build&Deploy/payload/Library/Application Support/Octory/Octory.plist
In the same folder, locate Octory.lauch.sh and add execution permissions to the script.
chmod +x ~/PATH_TO/octory-config-master/Build&Deploy/payload/Library/Application Support/Octory/Octory.launch.sh
Apply owner and permissions to the terminationScript.sh and other required scripts.
Scripts inside ~/PATH_TO/octory-config-master/Build&Deploy/payload/Library/Application Support/Octory/Scripts must have the following owner, group and permissions:
- root:wheel
sudo chown root:wheel ~/PATH_TO/octory-config-master/Build&Deploy/payload/Library/Application Support/Octory/Scripts/terminationScript.sh
- Execution permissions
sudo chmod +x ~/PATH_TO/octory-config-master/Build&Deploy/payload/Library/Application Support/Octory/Scripts/terminationScript.sh
Repeat the commands for each script.
The PATH_TO to the Scripts must match the path in the Octory.plist configuration file.
Review Octory's LaunchAgent com.amaris.octory.launch.plist and apply permissions.
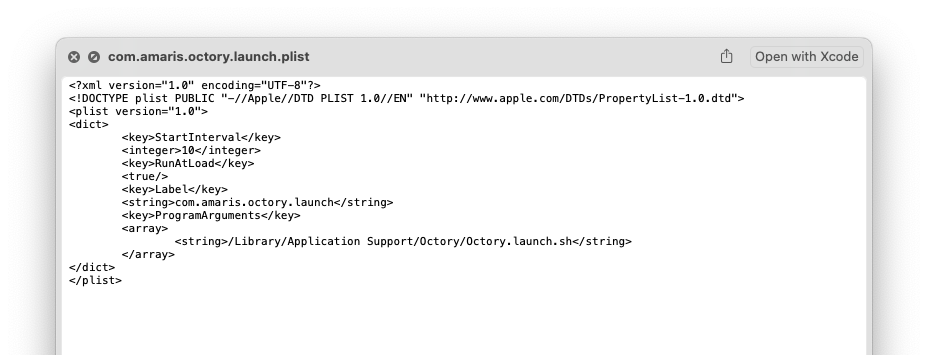
sudo chown root:wheel ~/PATH_TO/octory-config-master/Build&Deploy/payload/Library/LaunchAgents/com.amaris.octory.launch.plist
sudo chmod 644 ~/PATH_TO/octory-config-master/Build&Deploy/payload/Library/LaunchAgents/com.amaris.octory.launch.plist
By default the agent executes Octory.launch.sh script every 10 seconds.
Build your package
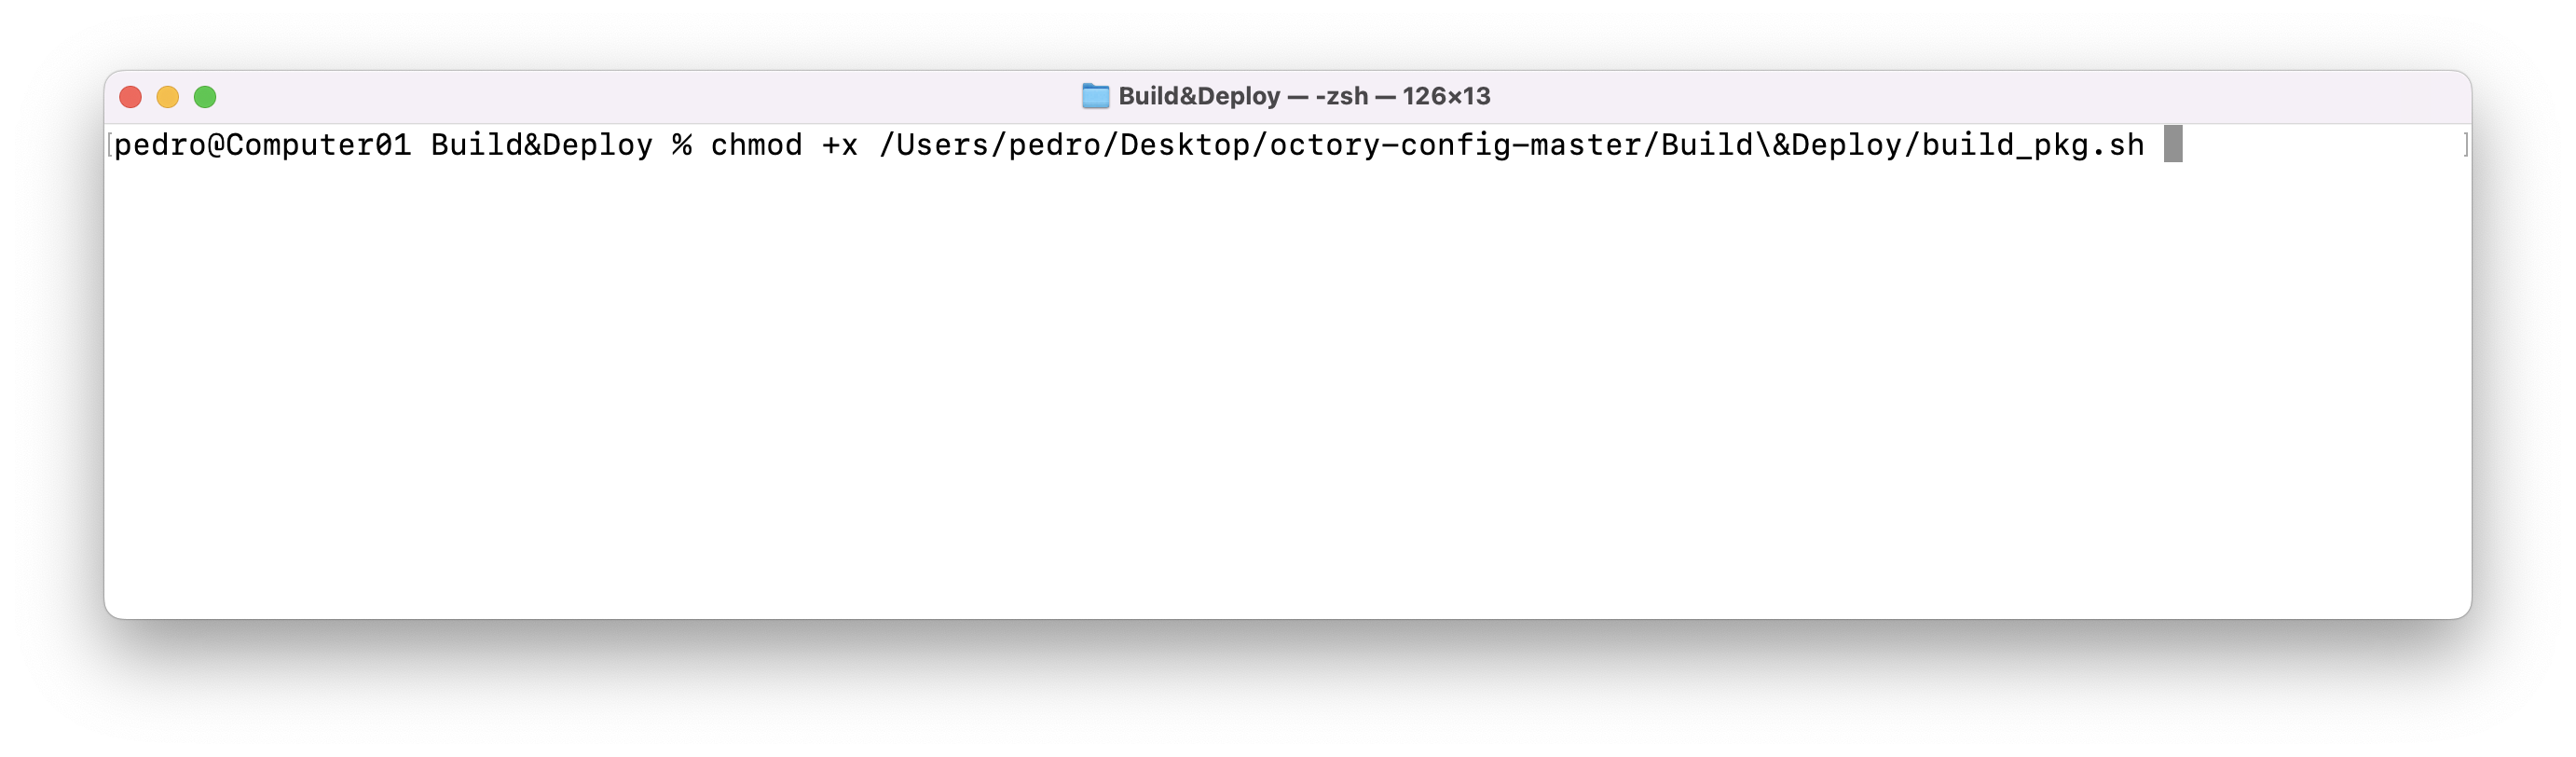
Locate ~/PATH_TO/octory-config-master/Build&Deploy/build_pkg.sh
Add execution permissions to the script:
chmod +x ~/PATH_TO/octory-config-master/Build&Deploy/build_pkg.sh
Execute script to create the Octory package for deployment.
cd ~/PATH_TO/octory-config-master/Build&Deploy/
./build_pkg.sh
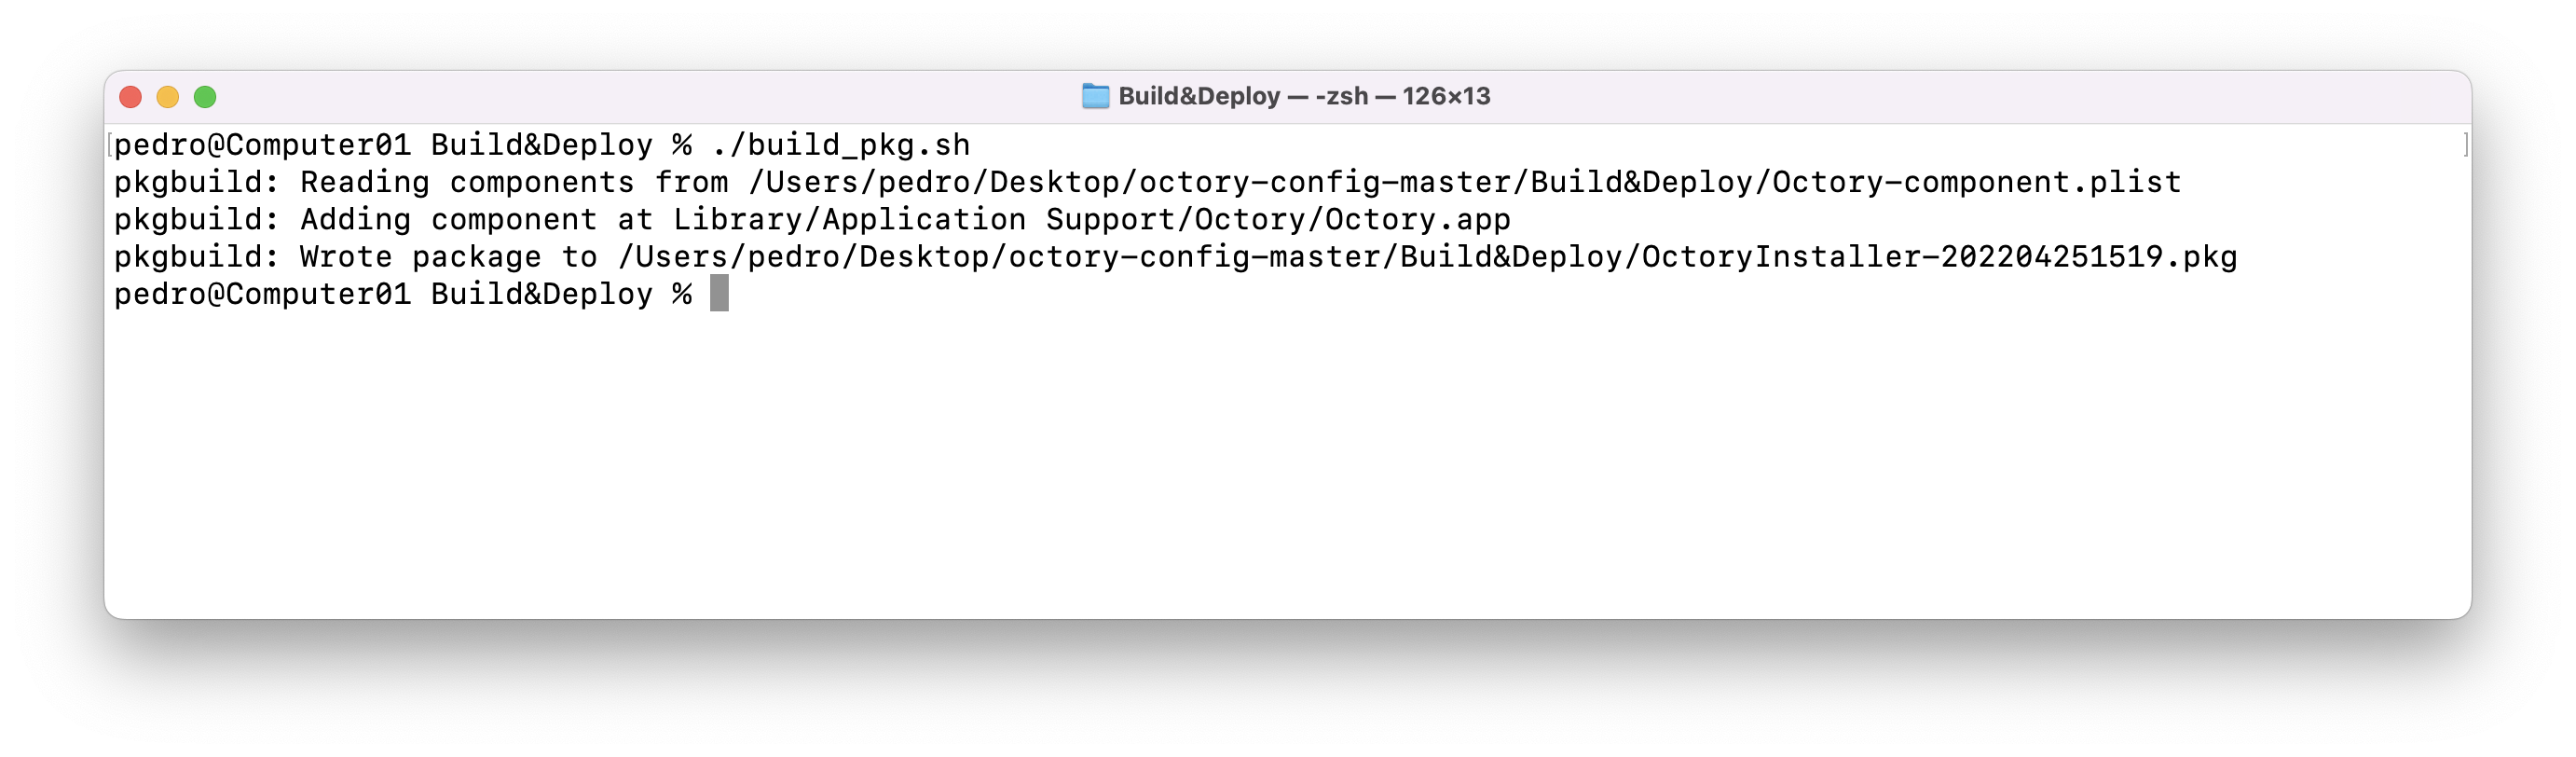
Locate the package OctoryInstaller-DATE.pkg in the folder ~/PATH_TO/octory-config-master/Build&Deploy/
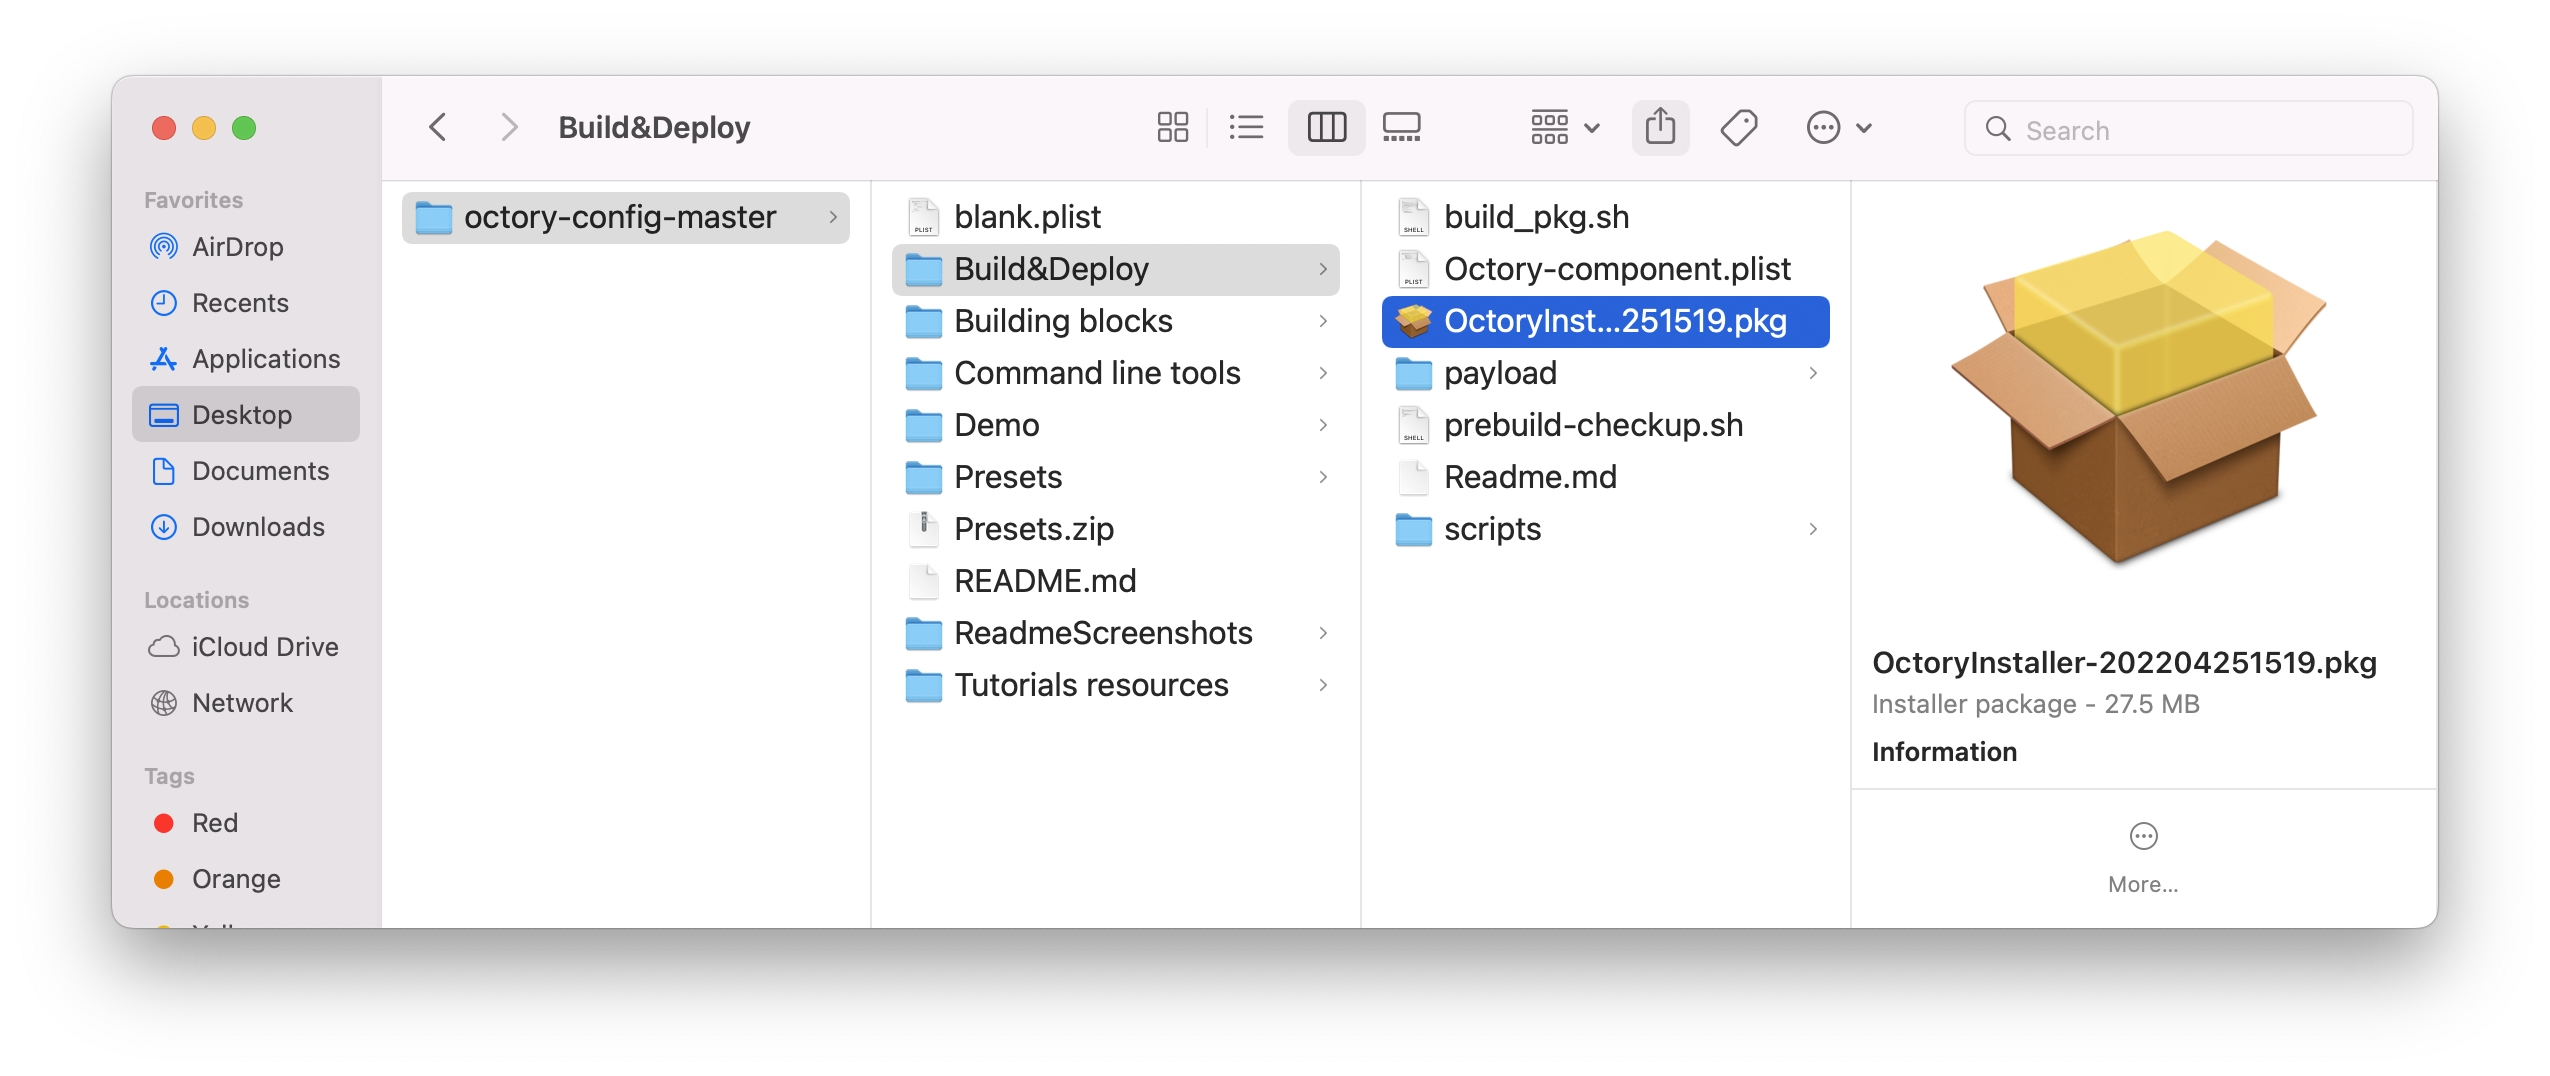
If you do not bootstrap your package, the unsigned package is ready to be uploaded for deployment to your preferred MDM solution.
If you want to bootstrap your package, a signed package is needed. Please continue to the Sign your package section.
Sign your package
In order to sign macOS packages, you will need an appropriate certificate that is verifiable on the client. A “Developer ID Installer" certificate can be obtained from an Apple Developer account, though third party certificates that meet these requirements are also acceptable. If you don’t have a certificate already and wish to use an Apple Developer account for this purpose, you can start the signup process on Apple’s website.
First, open Keychain Access within macOS and locate the certificate. If using an Apple certificate, the name of the certificate should start with “Developer ID Installer:”, followed by your Apple Developer account name, and ending with some serial number in parenthesis – take note of this information.
Next, open Terminal. Run the following, replacing the CERTIFICATE_ID value by the string between brackets in your certificate name. For example: 1A2B3C4D5E.
productsign --sign "[CERTIFICATE_ID]" ~/Desktop/example.pkg ~/Desktop/signed-example.pkg
The value in quotes following the “–sign” tag should be the ID of your certificate. The first argument (‘/Desktop/example.pkg’) is the current location on your computer of the unsigned package. The second argument (‘/Desktop/signed-example.pkg’) is the destination that you want to save your signed package.
Then, run the command. If it is successful, you should see something similar to the following printed out in Terminal:
productsign: using timestamp authority for signature
productsign: signing product with identity "Developer ID Installer: Your Developer Name (1A2B3C4D5E)" from keychain /Users/myUser/Library/Keychains/login.keychain-db
productsign: adding certificate "Developer ID Certification Authority"
productsign: adding certificate "Apple Root CA"
productsign: Wrote signed product archive to /Users/myUser/Downloads/signed-example.pkg
Verify that the signed package is located at the destination you specified. You can now uplaod your custom package as a bootstrap package.
If you are not comfortable with the command line, a couple of tools (paid like Jamf Composer or free like Hancock) exists with a GUI.